Inkz
Guru
- Messages
- 2,358
- Likes
- 1,554
Smudge Sig Tutorial By Ink.
Start of by creating a new document 380x130px and fill with #434343.
Start of by creating a new document 380x130px and fill with #434343.

Then add the render then press CTRL+Shift+U to saturate it. Then Filter > Distort > Ocean Ripple.
Ripple size 8 and Mag 4 should do.
Ripple size 8 and Mag 4 should do.

Add same render to fit sig and duplicate a few times then hide them
except the bottom render layer. Then move it to the other side of the sig.

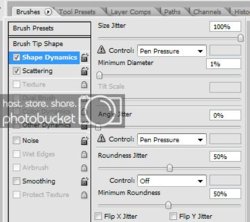
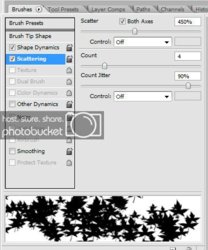
Smudge Time. Use these settings.


Set the strength to 50 and then smudge that render layer.

Duplicate that smudge layer.

Add adjustment layer. Brightness andcontrast with +2 brightness and +20 Contrast. Now unhide last render layerand set to Screen.

New layer and add the lighting render and set to Soft light. This willadd depth to your sig.

Take a large soft brush (300px) and brush the sides slightly not touching the render or middle then set to Overlay.

Now add a boarder to your sig 1 or 2px will do for this. Now press Ctrl+Shift+Alt+E and then
sharpen the image.

Layers for reference.

Here are the resources you will need.


