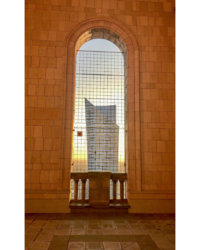
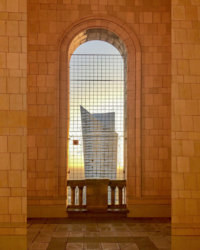
This isn't the easiest project and I don't know your level of expertise so I'll keep it as simple as I can.
First there's a tool in PS, the 'content-aware scale' tool. Since there's a brick pattern in the picture we will not use it since it will enlarge the bricks and not give the result we want.
Then note that a photo taken from down-up will give a perspective distortion.
That will needed to be corrected. It will change slightly the appearence of the photo.
That correction is needed for the further process when using the clone stamp tool.
- Open your picture
- Pull the guidelines to help having a view on the perspective correction.
- We see that the floor is nearly perfectly horizontal and that makes the process easier.
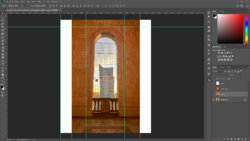
- Use perspective warp and warp tool to straighten the image (it doesn't have to be perfect)
- The fact the horizontal and vertical lines are almost correct will make the clone process easier.
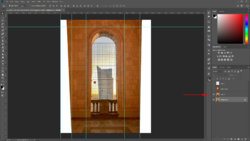
- Make a copy of the 'corrected' layer. This one will be used to fill the gaps with the clone tool.
- Select the clone stamp tool 75% strenght and almost fitting between the inner guidelines.
- Start sampling and cloning from the top and make sure every brick is nicely aligned.
- Resample if you see that the filled part does not match anymore.
- It is a tedious but precise work, be patient and don't hurry.
- Stay away from the floor part.
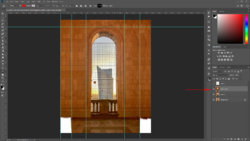
- With the rectangular marquee tool make a selection of the floor part and press ctrl+J to place it on his own layer.
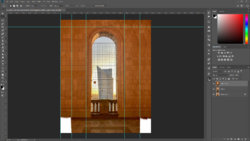
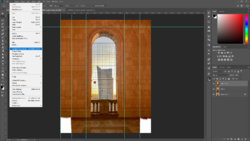
- Make the floor part layer active, press thumbnail+ctrl and now we can use the 'content-aware scale' tool.
- This will activate anchor points. Press and hold shift + alt and use the mouse to drag the left side to the border of the picture. The right side will follow.
- Deselect the selected floor layer. I know that it is a bit cheating but hey, it's Photoshop.
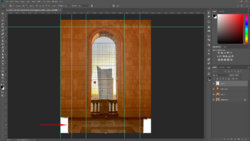
If all went well you'll end up with
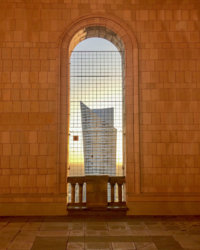
Make a stamp visible layer (ctrl+shift+alt+E) and use that new layer to make corrections such as repeating patterns when cloning and imperfections.
I didn't correct the imperfections...
The rest is up to you.
