Very easy.
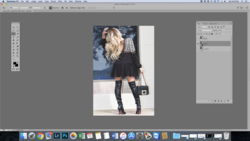
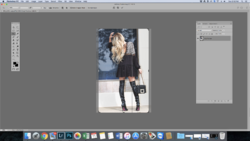
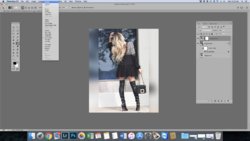
Open your original image.
Duplicate the original image twice (2)
Name the top duplicate layer "Original Girl 2"
Name the one below the top duplicate layer "Original Girl 1"
Turn the Original/background layer off.
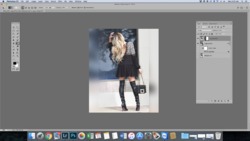
Select/Highlight the "Original Girl 2" layer
Choose your Crop Tool
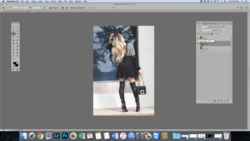
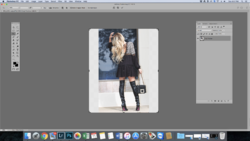
Hold down the Opt/Alt key and drag either of the side handles away from the center.
Drag until happy with the margin.

Hit enter or the tick/check mark to accept the state change.
Should now look like this.......

Turn off the "Original girl 2" layer.
Select/Highlight the "Original Girl 1" layer.
Right click in the body of the layer and select "Convert to smart object".
Then hit Cmd/Cntrl + T to enter free transform.
Hold the shift + opt/alt key and mouseclick and drag any of the corner handles.
Drag until your happy with the size. (don't worry, you can always readjust this again later)

Hit enter or the tick/check mark to accept the state change.
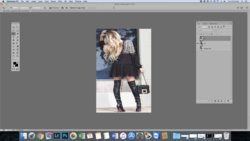
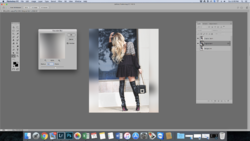
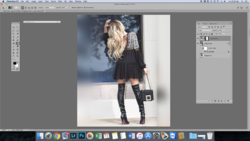
Turn the "Original Girl 2" layer on again.
Should look like this......

Select/Highlight the "Original Girl 1" layer.
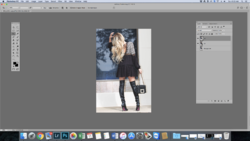
Go to FILTER > BLUR > GAUSSIAN BLUR

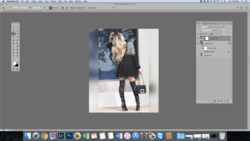
Set your blur to 100 hit OK.

Your canvas should now look like this.......

Now for the edge softening.
Select/Highlight the "Original Girl 2" layer
Add a layer mask to this layer by hitting the "add layer mask" icon located at the bottom left of the layers panel.
Choose your Gradient Tool
Set to linear gradient.
Set the Gradient Tools preset to "foreground to transparent".
Set your foreground color to black.
Create/drag gradients on both sides of the image for the softening. Click close to the edge and drag inwards. You may have to do this several times.
Hold down the shift key to keep the gradient straight.

Layers panel.