Hi.
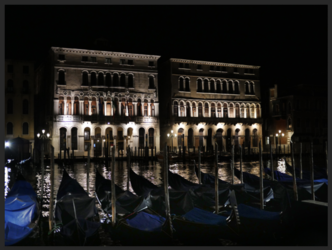
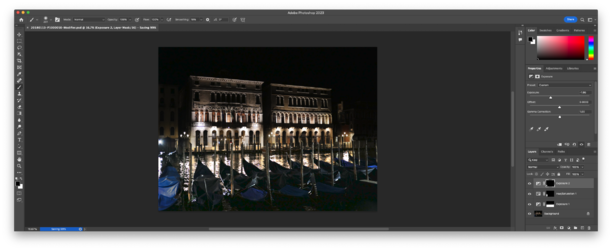
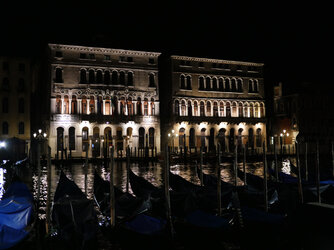
First post here, I've been using LR for a while, and would like to get better with Photoshop (24.10). Following some online tutorials, I decide to try to tinker with the photo you see below, which I took in Venice. What I want to do is to increase the exposure around the gondolas, whilst leaving the building behind, exposed as normal.
My process is as follows:
Any advice you could give, would be welcome. What am I doing wrong? Is a vector layer mask not the same as an adjustment layer mask? Is there anything else I'm doing wrong?
Thank you.

First post here, I've been using LR for a while, and would like to get better with Photoshop (24.10). Following some online tutorials, I decide to try to tinker with the photo you see below, which I took in Venice. What I want to do is to increase the exposure around the gondolas, whilst leaving the building behind, exposed as normal.

My process is as follows:
- I right-click on the photo in LR and select 'Open as a Smart Object in Photoshop'.
- I then click on new layer selector at the bottom, and choose to add an exposure layer.
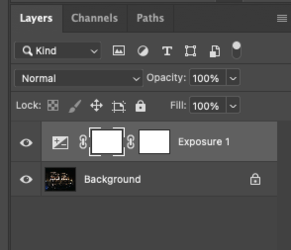
- Then I click on the little rectangle entitled 'add vector mask' and a mask is duly added
At this point, this is where something strange happens, and I cannot explain it. The vector mask is selected, but if I click on it, it deselects, and I am absolutely unable to select it again. That's the first strange thing. Moving on... - Whilst the layer mask is selected, I adjust the exposure. But I only want the exposure adjustment to happen to the foreground, right? So, I then...
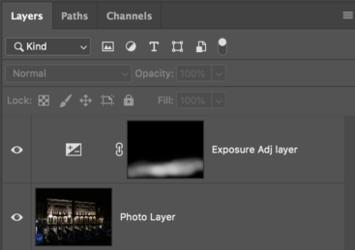
- .. select a brush. With the brush, I ensure that the colour is black, that the brush is the right size etc., and I brush across the top. White reveals, black conceals, yes? So I want to 'conceal' the adjustment layer at the top, and leave the buildings as they are.
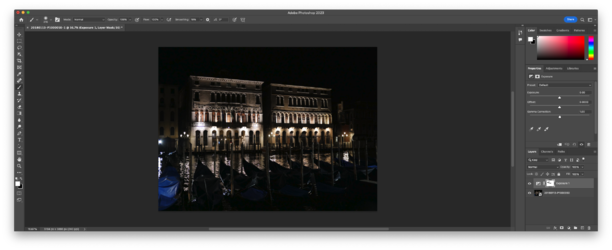
Nothing happens. The picture stays the way it is. It doesn't change at all. I tried quitting Photoshop and then restarting it with COMMAND + SHIFT + OPTION held down, and deleting the preferences file. Then I redid the steps above. Nothing.
Any advice you could give, would be welcome. What am I doing wrong? Is a vector layer mask not the same as an adjustment layer mask? Is there anything else I'm doing wrong?
Thank you.
