Photoshop Gurus Forum
Welcome to Photoshop Gurus forum. Register a free account today to become a member! It's completely free. Once signed in, you'll enjoy an ad-free experience and be able to participate on this site by adding your own topics and posts, as well as connect with other members through your own private inbox!
You are using an out of date browser. It may not display this or other websites correctly.
You should upgrade or use an alternative browser.
You should upgrade or use an alternative browser.
How to make this glass effect icon
- Thread starter Aviorrok
- Start date
- Messages
- 24,206
- Likes
- 13,734
Mainly the Pen Tool.
Please note that this was done fairly fast for the demo.
Also note that I used guides to get the straight lines with the Pen Tool.....you can also hold the shift key as well.
BG

BG with Gradient

Rounded rectangle
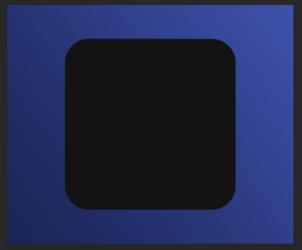
First Drop Shadow
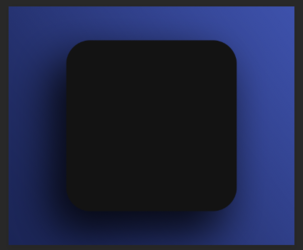
Second Drop Shadow
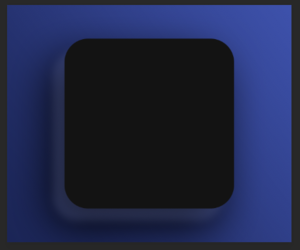
Bevel & Emboss on the Rounded Rectangle. Note the edges are darker than the middle
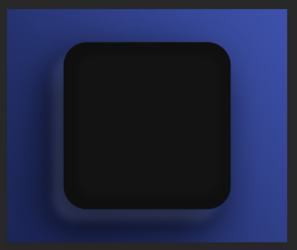
Top Highlight Pen Too path.
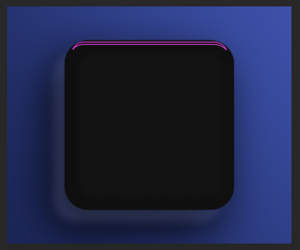
Path filled with white.
Convert to Smart Object.
Add Gaussian Blur Smart Filter.
Lower opacity.
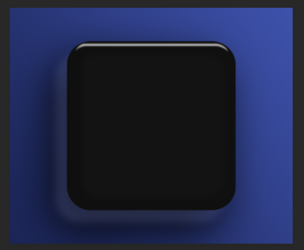
Right hand side Highlight Pen Tool path.
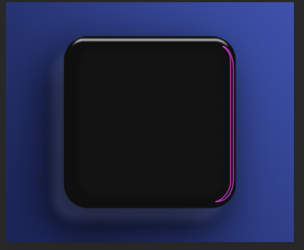
Path filled with white.
Convert to Smart Object.
Add Gaussian Blur Smart Filter.
Lower opacity.
Also added a clipped Solid Color Adj. layer for blue tint.
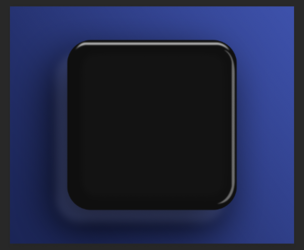
Corner Highlights Pen Tool Paths.
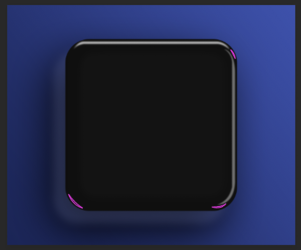
Paths filled with white.
Convert to Smart Object.
Add Gaussian Blur Smart Filter.
Lower opacity.
Done!
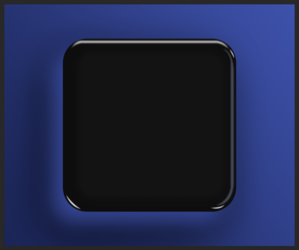
Please note that this was done fairly fast for the demo.
Also note that I used guides to get the straight lines with the Pen Tool.....you can also hold the shift key as well.
BG

BG with Gradient

Rounded rectangle

First Drop Shadow

Second Drop Shadow

Bevel & Emboss on the Rounded Rectangle. Note the edges are darker than the middle

Top Highlight Pen Too path.

Path filled with white.
Convert to Smart Object.
Add Gaussian Blur Smart Filter.
Lower opacity.

Right hand side Highlight Pen Tool path.

Path filled with white.
Convert to Smart Object.
Add Gaussian Blur Smart Filter.
Lower opacity.
Also added a clipped Solid Color Adj. layer for blue tint.

Corner Highlights Pen Tool Paths.

Paths filled with white.
Convert to Smart Object.
Add Gaussian Blur Smart Filter.
Lower opacity.
Done!

- Messages
- 24,206
- Likes
- 13,734
Thanks...............I did do it rather fast ................but it's close enough to get the idea!nicely done sam...
I was able to almost—but not quite—do it entirely with layer styles. With my old CS5 version of Photoshop, I can only apply a bevel & emboss layer style (for example) once per layer. I believe that in new versions you can apply a bevel & emboss (or any other layer style) multiple times in the same layer. That would make life easier. Here's what I did.
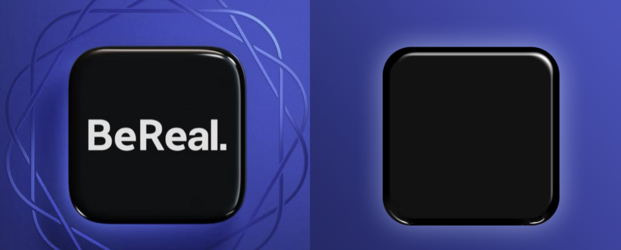
- After creating the blue background, use the rounded rectangle tool with color of nearly black (18,18,18).
- Apply an inner shadow of pure black to create the darker edges. (See exact settings in the attached PSD file.)
- Apply a bevel and emboss with the highlights set to 100% white. (See PSD file for settings).
- Duplicate the button layer and turn off all layer styles except bevel & emboss. Unclick Global Light and change the light direction as shown in the PSD. Apply a layer mask filled entirely with black, and then reveal only the areas in the bottom left and right corners.

Attachments
- Messages
- 24,206
- Likes
- 13,734
You can only add these extra options/effects in one layer style:I believe that in new versions you can apply a bevel & emboss (or any other layer style) multiple times in the same layer.
Stroke
Inner Shadow
Color Overlay
Gradient Overlay
Drop Shadow
I wish you could add extra Bevel & Emboss..............it would make things much easier. As it is, you have to use multiple layers with their own B&E layer styles.
If I'm honest..........I did not even try a layer style solution. I will give that a try to see what I can come up with.
- Messages
- 24,206
- Likes
- 13,734
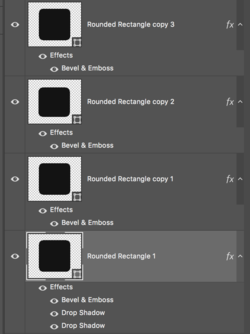
OK.........I was able to do this using the above mentioned technique of duplicating the Rectangle layers with corresponding layer styles. The trick is that you lower the fill of the additional layers to 0%....................of course the layer style remains visible.
I did have to nudge the transparent layers up and down as well as resizing one...........but it does offer similar results.
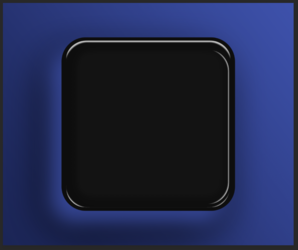
I did have to nudge the transparent layers up and down as well as resizing one...........but it does offer similar results.


The trick is that you lower the fill of the additional layers to 0%....................of course the layer style remains visible.
I did have to nudge the transparent layers up and down as well as resizing one...........but it does offer similar results.
Ah... I didn't think of reducing the layer fill to 0%. That would definitely let you have the nested bevel & emboss effect, where one white highlight sits within another.

