What's new
Photoshop Gurus Forum

Welcome to Photoshop Gurus forum. Register a free account today to become a member! It's completely free. Once signed in, you'll enjoy an ad-free experience and be able to participate on this site by adding your own topics and posts, as well as connect with other members through your own private inbox!

Heavy Light Leak Issue


timbersfan2015

New Member
Messages
2
Likes
2
Hey all,

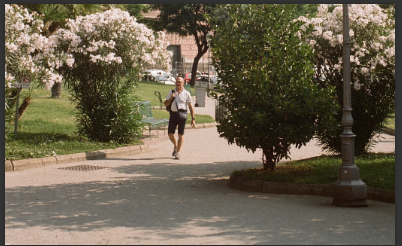
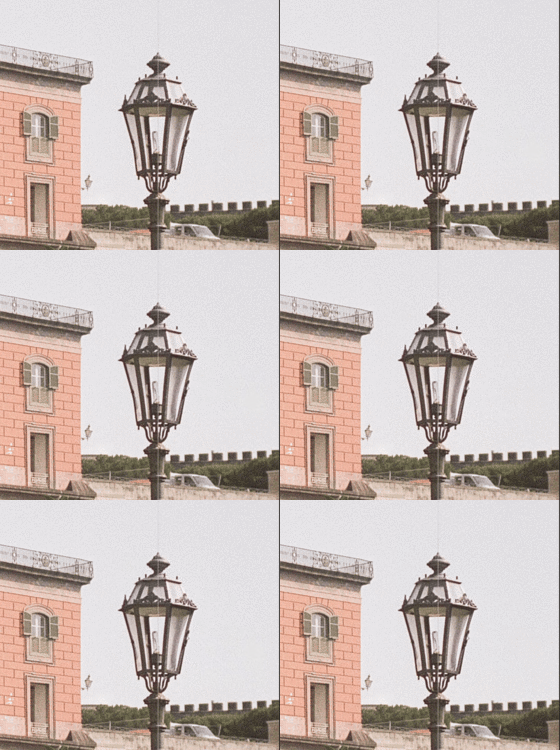
I am brand new to photoshop and have this picture that I really like, but can't figure out how to fix the light leak (?, maybe x-ray artifact). I have looked at a few different tutorials on this forum among others, but haven't been able to find a solution that looks reasonable.

Any advice on how to get the light leak on the the bottom out of this image would be appreciated!

000008820012.jpg
 
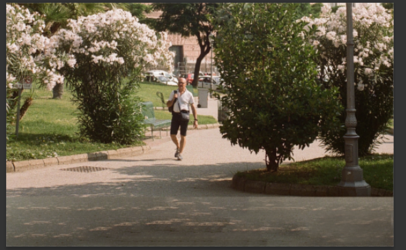
Depending on your version of Photoshop, a few suggestions -

Here's one where I selected the affected area and used Generative Fill:

1700319389613.png

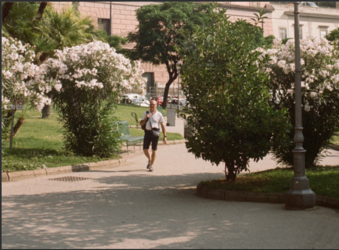
A very quick play with a selection, then Edit >Content Aware Fill and: a bit of cloning for cleanup

1700320163585.png

One more first by using crop tool to pull up the bottom, deselectng, then using crop tool again on bottom of image to pull down taking advantage of Generative Expand:

1700321008450.png

If you need any additional info, let me know. I'm sure others will follow with additional selections... :)
 
Last edited:
Generative fill is the way to go. If you're using an older version of PS that doesn't have that feature, I can show you another way using Hue/Saturation adjustment layer.
 
Generative fill is the way to go. If you're using an older version of PS that doesn't have that feature, I can show you another way using Hue/Saturation adjustment layer.
I'd like to see the result myself...always learning... :)
 
I'd like to see the result myself...always learning... :)
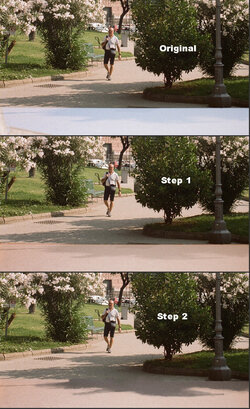
Sure.
Step 1
Select the bright area, open a hue/sat adj layer, change blend mode to Multiply, tick the Colorize box, then adjust hue, sat and lightness to make the sunlit area at bottom match the sunlit area you aren't changing.

Step 2
Open a second hue/sat layer, blend mode to Multiply, and adjust sliders so that the shadow areas at bottom match the original (good) shadow areas above. Then put a black mask on that and paint with a white brush in just the shadow areas at bottom. Tweak hue/sat sliders as needed.

light leak fix.jpg
 

Back
Top