What's new
Photoshop Gurus Forum

Welcome to Photoshop Gurus forum. Register a free account today to become a member! It's completely free. Once signed in, you'll enjoy an ad-free experience and be able to participate on this site by adding your own topics and posts, as well as connect with other members through your own private inbox!

How to achieve this effect?


Messages
9
Likes
0
How exactly would one achieve the effect with the orange seen here in the middle of this image? In photoshop?
maybe a stupid question, thanks

02c55c6c6ce7a6afe7a42ff1f73e95e0.jpg
 
Definitely not a stupid question. This was actually quite tricky.
  • Create a new Photoshop file of any size, but it needs to be a square with equal height and width.
  • Identify the exact center of your image by opening the grid, using guidelines, or any other method. I chose to use the grid (View>Show>Grid).
  • Set your foreground color to the desired orange (or whatever you like).
  • Activate the Polygon tool. Set the number of sides to 12. Then open the options panel and change the polygon to a star-shape, using the settings shown here.
1704820779021.png


  • Using the Polygon tool, drag-out a star shape similar to below. Make sure to drag it exactly from the center.
  • Rasterize the layer (Layer>Rasterize>Layer).

1704821237669.png


  • Now go to Filter>Distort>Twirl.
  • Set the twirl angle to 61 degrees.
  • At the moment, it looks as if the twirl is in the wrong direction and should have been set to negative 61. But that will be taken care of in the next step.

1704821674307.png


  • Now go to Filter>Distort>ZigZag. Use the settings shown here.

1704822121405.png


  • Add a layer mask and drag a circular selection out from the center. Fill the selection with black to create the circular hole in the middle.

1704822450237.png
 
After all my brilliant sleuthing, I just noticed that the Custom Shape tool contains a sun-shape that is almost exactly like yours (see red arrow).
Just select this shape and hold down the Shift key while you drag it out to any size. Once you've got it, add a layer mask to create a hole in the center.

If you want it to twirl in the opposite direction, go to Edit>Transform>Flip Horizontal.

1704829212937.png
 
Hi @flipflopflamingo
As with many things in Photoshop, there are a variety of ways to get things done.
I am going to show you a step and repeat approach in creating the pattern

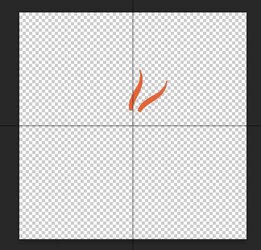
First, here is you original image with only a single orange segment:
Screenshot 2024-01-09 at 2.30.58 PM.jpg

I put that orange segment on its own Layer and turn off the background:
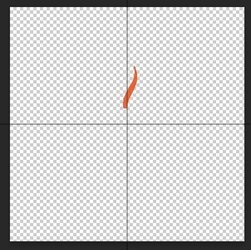
Screenshot 2024-01-09 at 2.31.10 PM.jpg

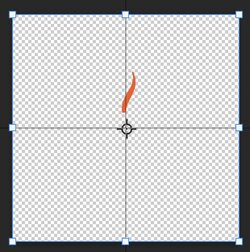
The first step in a "step and repeat" process is to turn on the Transform command, yet with a twist. Instead of just using Cmd+T (Ctrl+T on PC) you use Cmd+Opt+T (Cntl+Alt+T on PC). The normal transform handles appear with the command options in the bar at the top of the screen. The key is to have the pivot point (center point) position at the center of your final desired complete set of orange segments:
Screenshot 2024-01-09 at 2.31.38 PM.jpg

Now I just enter the amount to rotate the next piece of orange which is 30 degrees (360 degrees / 12 total segments). Right before accepting the transform it will look as below.
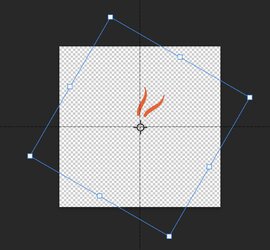
Screenshot 2024-01-09 at 2.31.58 PM.jpg

And after accepting the transform you will have:


Now for the easy part now that the first repeat is compete. All you have to do is the keyboard shortcut Shift+Cmd+Opt+T (Shift+Cntl:+Alt+T for PC) 10 times to add the remaining 10 repeated. It will now look as below:
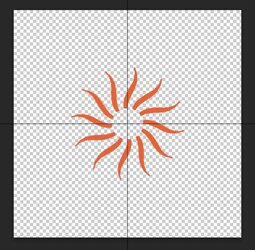
Screenshot 2024-01-09 at 2.32.43 PM.jpg

Turning back on the background image and now you have:

Screenshot 2024-01-09 at 2.32.57 PM.jpg

This particular approach to step and repeat creates a new layer for each orange segment. You can have it do it on a single Layer yet if that is desired you can look that up online.

Just one more approach to consider.
John Wheeler
Screenshot 2024-01-09 at 2.32.19 PM.jpg
 

Back
Top