What's new
Photoshop Gurus Forum

Welcome to Photoshop Gurus forum. Register a free account today to become a member! It's completely free. Once signed in, you'll enjoy an ad-free experience and be able to participate on this site by adding your own topics and posts, as well as connect with other members through your own private inbox!

Advice on how to create these abstract gradient backgrounds


MattLeG

New Member
Messages
1
Likes
0
Hi Gurus,

First post on here. I'm trying a create some abstract backgrounds 'a la' Jonathan Castro. But Just the very back layer. It looks like a starting point could be using the gradient tool to make some drape like effect with the transparency set to difference.

However I'm struggling to get the colours working in a similar way with this approach.

Any thoughts on how I could approach this would be much appreciated
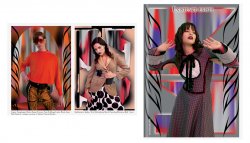
Castro.jpg
 

IamSam

Administrator
Staff member
Administrator
Messages
22,752
Likes
13,268
Hello and welcome!

On close inspection of the BG's, part of me thinks that these backgrounds are actually full sized backdrops that were painted with a real airbrush, but it could have been created in a digital painting program. Some of the other effects are most certainly digital.

For me, this is just a matter of painting. For you it would depend on your painting skills.

I literally did this in less than two minutes (for the demo and I got it too dark and skinny) with the Brush Tool, a soft round brush, set to 6% flow and pen pressure for opacity. I did use a WACOM tablet and pen. This would be very hard to do with a mouse.
Screen Shot 2021-03-31 at 12.54.04 PM.png

If I were trying to recreate the BG's above, I would just incorporate a color scheme with the black/greys........or just use color to create the curtain/drape effect.

I did try to simplify the process by using a photo of actual drapes and then adding colors to a new layer and using a blending mode. I found that I still really needed to paint the color scheme anyway, random brush strokes did not seem to work. I'm still playing with this idea as to make this effect as easy as possible for those without painting skills. I'll try and let you know how that went.
 

puraidodes

Well-Known Member
Messages
197
Likes
90
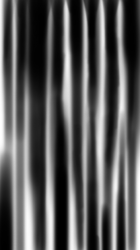
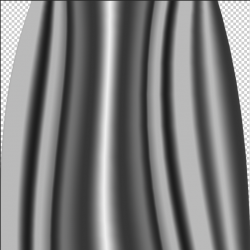
Hi, here is something done with a gradient. As a start try it with a Black and white gradient.
In some regions, your image looked curved so added a small warp.

clothee.png


Then make copies of this and combine them - Use masking or eraser to mix them.
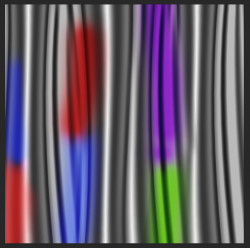
To color is as @IamSam suggested add colors over the top in a new layer and use your desired blending mode.

clothee1.png

The color in the 3rd image which you have is just a "Spiral gradient of red and Violet" on the top blended.

Or if you have the artist skills you can paint them with an airbrush with pen pressure as @IamSam suggested.

And i also feel that it may also be done in illustrator. Not sure though!
 

Rich54

Guru
Messages
1,739
Likes
3,425
Here's another approach.
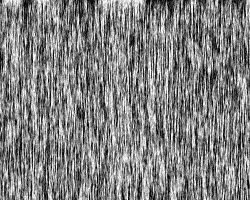
  • Start with a bottom layer filled with white.
  • Set foreground color to black and background color to white. Go to Filter>Render>Fibers.
1617252021119.png

  • Apply a Gaussian Blur of about 5 pixels.
  • Apply a strong motion blur of about 500 pixels at 90 degrees.
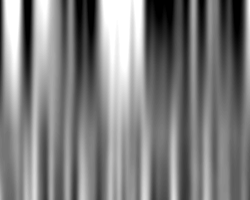
  • Add a Levels adjustment layer to boost the contrast. You now have something like this:
1617252804672.png

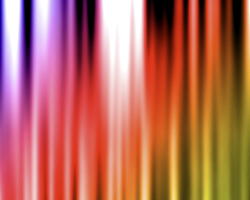
  • On a new layer, use the Gradient tool to apply some colors. Set the blend mode to Color.
  • Alternatively, you can paint your own colors by hand instead of using the gradient tool.
  • Apply a layer mask to the gradient layer to mask away portions of it, if you desire.
1617252884705.png
 

IamSam

Administrator
Staff member
Administrator
Messages
22,752
Likes
13,268
Great job Rich!

I had seen this in a tutorial but I was not finding it!
 

puraidodes

Well-Known Member
Messages
197
Likes
90
Here's another approach.
  • Start with a bottom layer filled with white.
  • Set foreground color to black and background color to white. Go to Filter>Render>Fibers.
View attachment 119967

  • Apply a Gaussian Blur of about 5 pixels.
  • Apply a strong motion blur of about 500 pixels at 90 degrees.
  • Add a Levels adjustment layer to boost the contrast. You now have something like this:
View attachment 119971

  • On a new layer, use the Gradient tool to apply some colors. Set the blend mode to Color.
  • Alternatively, you can paint your own colors by hand instead of using the gradient tool.
  • Apply a layer mask to the gradient layer to mask away portions of it, if you desire.
View attachment 119972


Ah Man, I almost forgot this method for the curtain pattern (blurring the fibers). Remembered the old day's someone teaching me this!.
Looks cool and thanks!
 

Rich54

Guru
Messages
1,739
Likes
3,425
Ah Man, I almost forgot this method for the curtain pattern (blurring the fibers). Remembered the old day's someone teaching me this!.
Looks cool and thanks!

It's one of the first things I learned how to do, many years ago. I made red burgundy drapes with gold trim, like in a theater. Then I added a spotlight—a white circle with blend mode of Soft Light. I was so proud of myself.
 

Top