What's new
Photoshop Gurus Forum

Welcome to Photoshop Gurus forum. Register a free account today to become a member! It's completely free. Once signed in, you'll enjoy an ad-free experience and be able to participate on this site by adding your own topics and posts, as well as connect with other members through your own private inbox!

3d paper shape and mapping


gurps

New Member
Messages
3
Likes
0
Hi All,

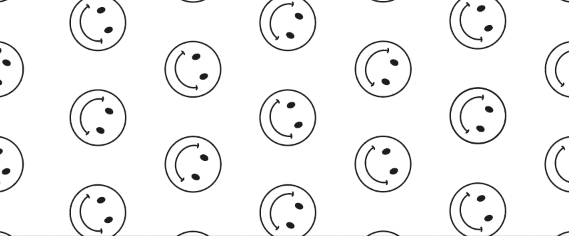
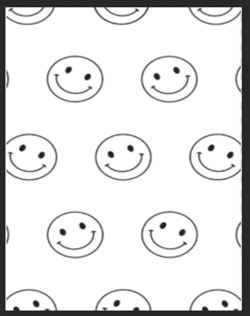
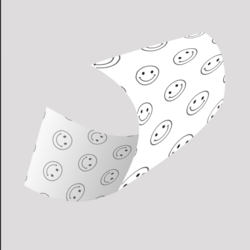
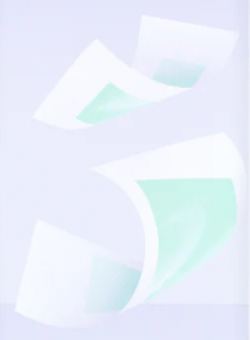
I need to create a 3d illustration of a wax strip and also map a pattern on to it - attached is a reference of the kind of thing I want to create and also the pattern that i want to map on to the shape. Is this something I could do in Photoshop using the 3d tools? I know I could create it manually just as a visual but the mapping part is tricky to figure out as it's a bit of guesswork and doesn't look quite right.

Thanks
Screenshot 2022-09-01 at 12.04.03.png

Screenshot 2022-09-01 at 12.03.54.png
 

IamSam

Administrator
Staff member
Administrator
Messages
22,752
Likes
13,268
Is this something I could do in Photoshop using the 3d tools?
Yes. However it's not really required for something this simple.

All you need to do is use smart objects.

Here I used your example as a template.
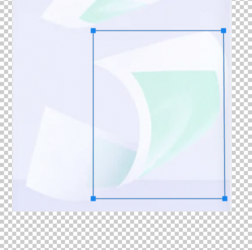
I create a rectangle shape with the Pen Tool. You can use other tools to create the rectangles.
Screen Shot 2022-09-01 at 8.04.30 AM.png

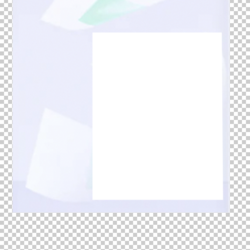
Fill the path with white.
Name the layer.
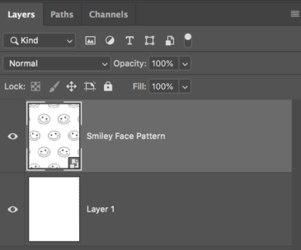
Convert layer to a smart object.
Screen Shot 2022-09-01 at 8.05.20 AM.png

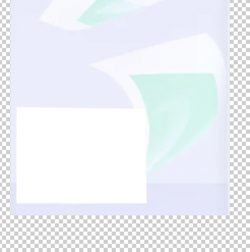
Create a second rectangle on a layer below the first.
Name the layer.
Convert the layer to a smart object.
Screen Shot 2022-09-01 at 8.06.51 AM.png

Starting with the first layer, I lowered it' layer opacity so I could see the template through it.
I use free transform. Cmd/Cntrl + T
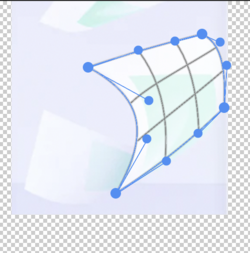
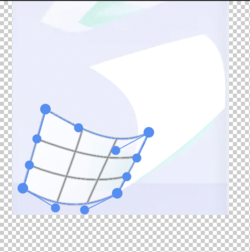
Distort to line up the corners, then warp to get the curvatures.
Return layer opacity back to 100%
Screen Shot 2022-09-01 at 8.09.53 AM.png

Repeat the process for the second rectangle layer.
Screen Shot 2022-09-01 at 8.12.17 AM.png

I then turned off the template layer.
Added a neutral background color.
Added a layer style "Gradient Overlay" to the bottom layer.
Screen Shot 2022-09-01 at 8.15.03 AM.png

Finally, I double clicked both of the Smart Object layers which open a PSB doc.
Dragged and dropped your sample "Smiley Face" pattern.
Used free Transform to position.
Save the PSB changes.
Screen Shot 2022-09-01 at 8.35.28 AM.png
Screen Shot 2022-09-01 at 8.36.07 AM.png

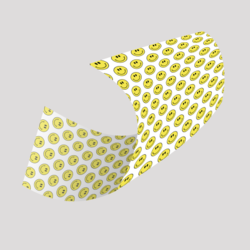
Here's the final result in the PSD document.
Screen Shot 2022-09-01 at 8.17.38 AM.png

All in all, the actual process takes about 2 minutes or less to accomplish.......very simple and easy and very editable.
 

gurps

New Member
Messages
3
Likes
0
Hi and thanks for your reply - I had already created something similar to your process and I wasn't happy with the warping of the pattern as it doesn't look quite right to me. The reason I wanted to use an actual mapping process is to compare to see if it's different if that make sense?
 

IamSam

Administrator
Staff member
Administrator
Messages
22,752
Likes
13,268
I wasn't happy with the warping of the pattern as it doesn't look quite right to me.
If you are referring to my example, I did not take the time to do it right by making a seamless pattern of the smiley faces...........so it does not look right, but it can look better. Your sample pattern image was not the best.

Screen Shot 2022-09-01 at 9.03.20 PM.png
 

gurps

New Member
Messages
3
Likes
0
If you are referring to my example, I did not take the time to do it right by making a seamless pattern of the smiley faces...........so it does not look right, but it can look better. Your sample pattern image was not the best.

View attachment 132390
No I was actually referring to the one I did but this one does look even better - I'll have another go, thanks for your help 👍
 

Top