What's new
Photoshop Gurus Forum

Welcome to Photoshop Gurus forum. Register a free account today to become a member! It's completely free. Once signed in, you'll enjoy an ad-free experience and be able to participate on this site by adding your own topics and posts, as well as connect with other members through your own private inbox!

advanced object handling - Smart Objects


nkaretnikov

New Member
Messages
1
Likes
0
Hello!
A fellow of mine created a nice .psd file
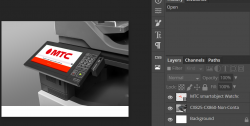
bebQ7bW.png
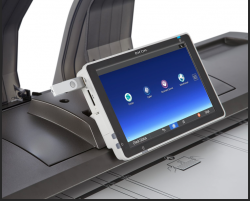
As you can see, on a MFD screen there's a smartobject and its borders perfectly match those of the MFD's touchscreen
I have no idea how to do that. There should, I believe, be a way to first define borders of the screen and than just make smartobject fit there
Would you please suggest a way to achieve that?
 

Attachments

  • МТС MTS SmartObject CX825 InitialScreen Card-Reader Contactless.psd
    11 MB · Views: 4
Hello and welcome. This is one easy method, there are others if you are interested.

Open your main image that you wish to change.
Screen Shot 2021-08-23 at 1.57.59 PM.png

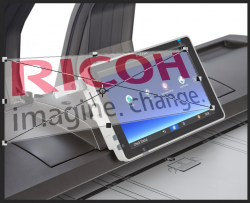
Open the replacement image you wish to add to the touchscreen panel of the original image.
Screen Shot 2021-08-23 at 1.59.30 PM.png

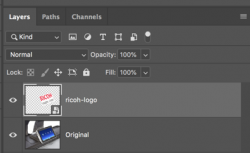
Convert the replacement image to a Smart Object.
Lower the opacity of the replacement image.
Enter free transform (Cmd/Cntrl + T)
Right click and choose "distort"
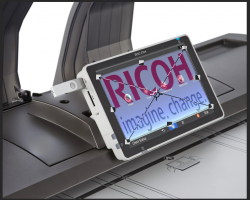
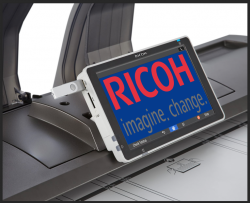
Transform the replacement image to fit in the original touchscreen panels area.
Screen Shot 2021-08-23 at 2.00.43 PM.png
Screen Shot 2021-08-23 at 2.01.32 PM.png

Once done hit "enter" or "OK".
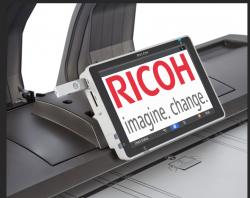
Return the replacement image's opacity to 100%
Screen Shot 2021-08-23 at 2.14.45 PM.png
Screen Shot 2021-08-23 at 2.02.13 PM.png

You can now double click the SO and open the PSB file, make changes, save changes.........
Screen Shot 2021-08-23 at 2.02.45 PM.png
 

Back
Top