Hello all. Just joined and have many questions lol.
I have recently been trying to figure out how to copy or replicate rather... old scanned document text. I have actually done a pretty good job but definitely not the right way.
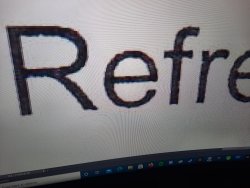
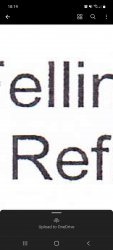
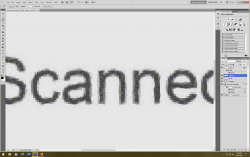
Basically the text on a scanned certificate looks fine until you take a closer look...then its all jagged and a little pixelated with differing pixel colours within each letter.
I trying to replicate it to look the same on text I add... basically forging a certificate... but dont worry its a school merit certificate of my sons lol.
As far as my son is concerned its perfect... but its far from ok in my head as I know there will be a Photoshop way of doing a much better and much easier job.
I may not have described it very well... but Its basically just normal sized text from a scanned document....that looks odd when I zoom in on it...and I want to replicate that look... its not just pixelated...its because it was scanned originally I suppose.
Thinking maybe a clipping mask ? but will that work on small text or a way of creating a font from the look of the original ??
I'll stop talking now lol.
Any help or advice will be very much appreciated.
Thank you
Daniel


