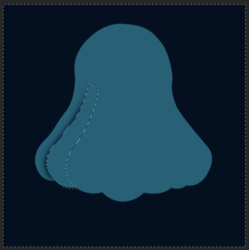
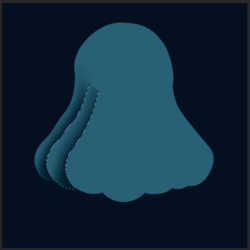
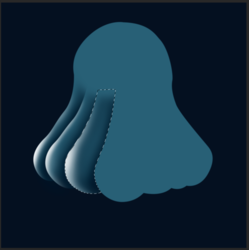
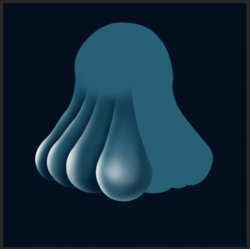
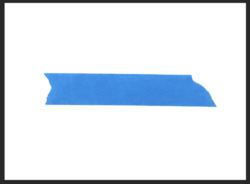
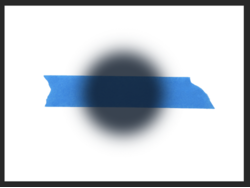
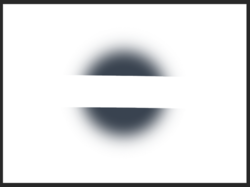
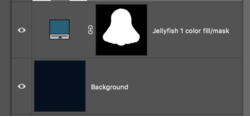
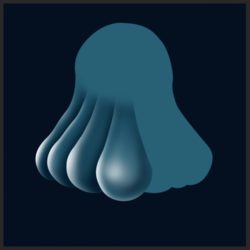
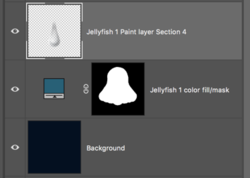
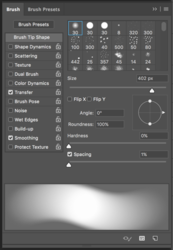
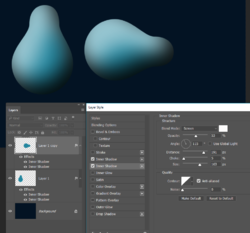
I use two approaches depending on context. Never forget how useful Layer Styles are. Rather than use a Bevel & Emboss layer style, try using two Inner Shadow (so long as you are using CC). Set one to black and multiply as per the defualt, and thew other to white and screen. The advantage of this approach is that you can copy the layer and the light direction will remain correct after you rotate it as per below.
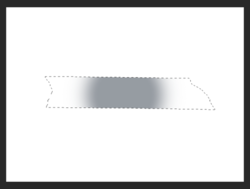
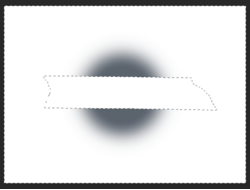
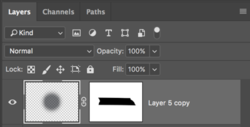
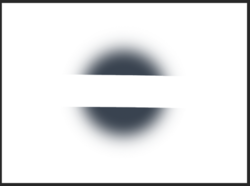
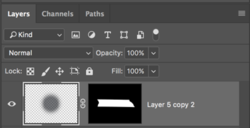
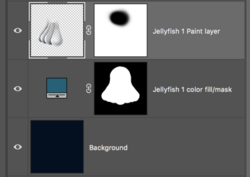
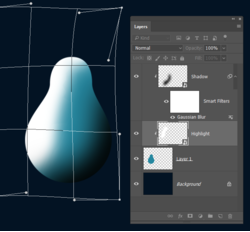
The other method I use is to clip a layer to the shape and paint in the highlight, or shadow. Make that layer a Smart Object and use Gaussian Blur to give you the gradient. This gives you the option of adjusting the degree of blur, and the Free Transform > Warp the shadow or highlight (Note when you FT Warp an SO it temporarily turns off the filters, so you are seeing the unblurred state of the highlight layer below. You can also adjust layer opacity and position. If you want to firm it up, copy the layer or add another one.
Where this falls down is that you need to use multiple layers for complex shapes, but if you have a steady hand, you can make your shape and lock its transparency, and by checking
Build-up in the brush settings, paint in your shadows and highlights. I always prefer to use separate layers clipped to the underlying shape because it leaves you so many options.
Another trick. Let's say we produced the shape with the Pen tool, because, well, that would be the right way to do it. So we either make it a Shape layer, or raster layer by filling the path, and we have a path that matches the shape.
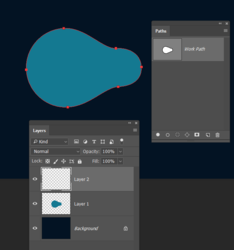
Drag the path to the new path icon a couple of times so we have a copy. Add some points and delete the ones we don't need
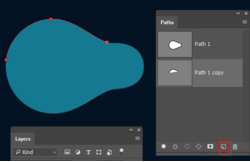
We can now stroke the path on a new layer, and with Simulate Pressure checked, get a tapered stroke.
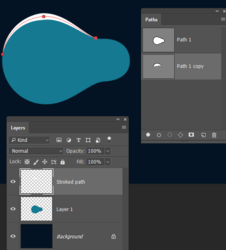
And then clip the stroke layer, and blur to suite


