Photoshop Gurus Forum
Welcome to Photoshop Gurus forum. Register a free account today to become a member! It's completely free. Once signed in, you'll enjoy an ad-free experience and be able to participate on this site by adding your own topics and posts, as well as connect with other members through your own private inbox!
You are using an out of date browser. It may not display this or other websites correctly.
You should upgrade or use an alternative browser.
You should upgrade or use an alternative browser.
How to make circle "height"
- Thread starter Aviorrok
- Start date
Oh sorry I talked about the vector drawingNo..........I understand your question. I'm asking you what type of finished drawing are you after? A simple vector drawing or a more refined digital painting?
- Messages
- 24,206
- Likes
- 13,734
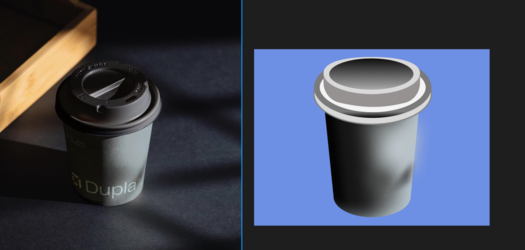
Ok.........If I were to re-create this coffee cup in a vector drawing, I would use the actual cup as my template. I would start with the largest HIGH resolution photo of the cup that I could find. Always work with the largest file you can in Ps.
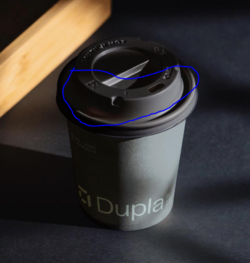
Using the Pen Tool, you need to make your base layers.
The cup body.....

And the cup lid...
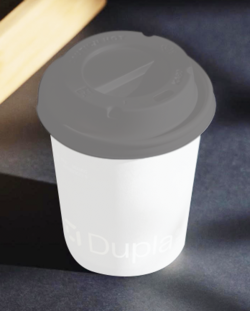
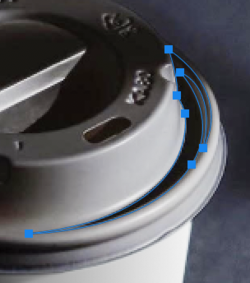
Again with the pen Tool, make selections based off of the ref photo.
They do not have to be exact................just close.
You can adjust the feather radius of each selection.
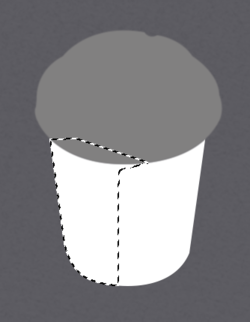
Fill with a gradient
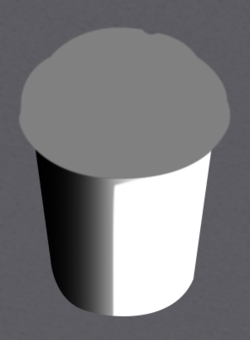
Do the same for other details......
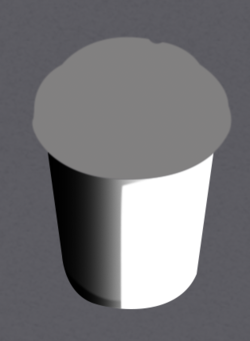
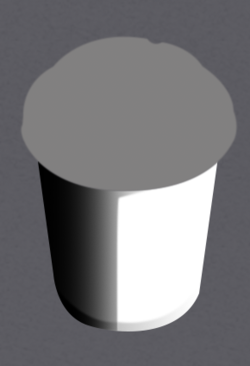
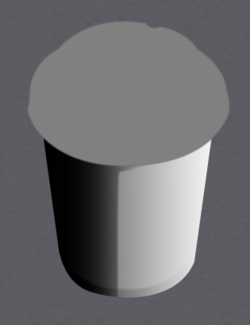
You can do this for the lid as well.
Using the Pen Tool, you need to make your base layers.
The cup body.....

And the cup lid...

Again with the pen Tool, make selections based off of the ref photo.
They do not have to be exact................just close.
You can adjust the feather radius of each selection.

Fill with a gradient

Do the same for other details......


You can do this for the lid as well.
- Messages
- 24,206
- Likes
- 13,734
- Messages
- 24,206
- Likes
- 13,734
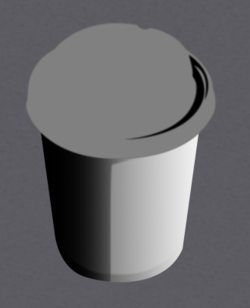
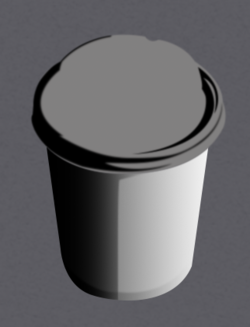
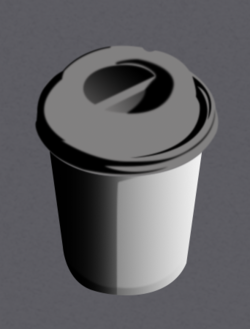
This one was a little more tricky!!
I made the outline with the Pen Tool and filled, Just as I did above.
Set the layers blending mode to multiply.
Then I used a layer mask, a foreground to transparent Gradient for top and bottom, then the Brush Tool.
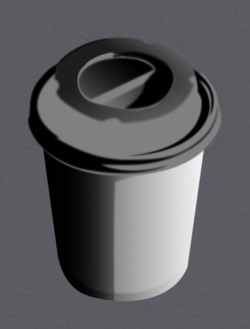

And the final gradients.........dark from the left and light from the right.
All that's left is the highlights and details.
You can see where the "lid height circle" naturally developed!
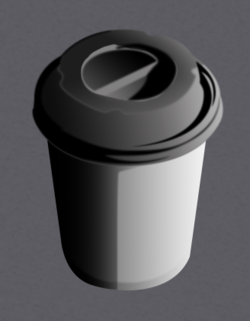
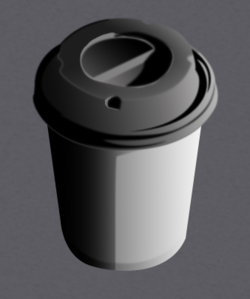
I made the outline with the Pen Tool and filled, Just as I did above.
Set the layers blending mode to multiply.
Then I used a layer mask, a foreground to transparent Gradient for top and bottom, then the Brush Tool.


And the final gradients.........dark from the left and light from the right.
All that's left is the highlights and details.
You can see where the "lid height circle" naturally developed!


