Hello and welcome to PSG.
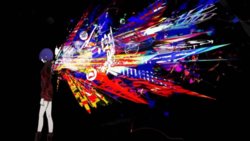
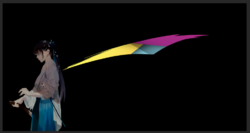
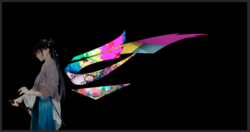
This is a complex image created with simple techniques. No tablet needed.
Here's how I would approach this.............
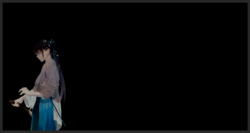
Start with a base image.

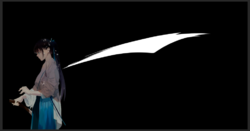
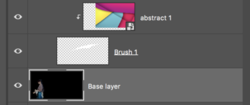
Create a new layer.
Select a brush of choice.
Use the Brush Tool to make make a single brush stamp/stroke.
The color of the brush stamp does not matter, I used white.

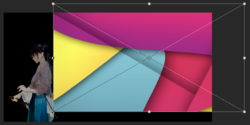
Now you have to find and use the appropriate colored background for the stroke.
Open the BG by dragging on top of canvas.
Resize and position if needed. Hit enter or OK when satisfied.

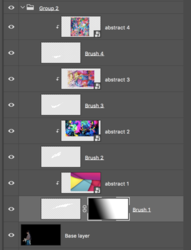
Right click the BG layer and select create "clipping mask" or hover your cursor between the two layers while holding down the alt/option key, you will see the cursor turn into a box with a black angled arrow pointing down, then click.
(note: If you select/highlight the abstract layer that's clipped to the brush stamp layer, you can use the Move Tool to re-position at anytime!)
This clips the BG image to your brush stamp layer, thus placing the image within the shape.

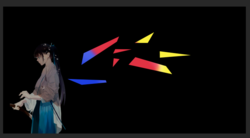
Here's what we have so far.....

This is the fundamental technique you can use.
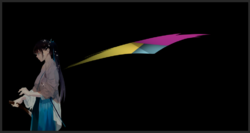
Here's how you can mask that brush stamp layer.
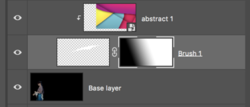
Just select or highlight the brush layer.
Add a layer mask by clicking on the "add layer mask" icon located at the bottom of the layers panel.
Next, use your Gradient Tool to add a gradient to the layer mask.


Now it's just a matter of repeating the process and adding new brush stamps, then a new abstract layer clipped to the new brush stamp.


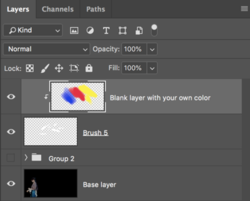
You can group the layers..............add adjustment layers to groups.............change blending modes..... blur the brush layer.........lower the transparency........the possibilities are endless. Your biggest problem will be in finding all the cool brushes! Before you ask, I made most of the brushes I used for this demo with the Pen Tool. I may have had some from other sets but I have no idea where they came from.

