What's new
Photoshop Gurus Forum

Welcome to Photoshop Gurus forum. Register a free account today to become a member! It's completely free. Once signed in, you'll enjoy an ad-free experience and be able to participate on this site by adding your own topics and posts, as well as connect with other members through your own private inbox!

Photoshop: How do you paint brick walls white?


IamSam

Administrator
Staff member
Administrator
Messages
22,761
Likes
13,269
Over the years, the matter of painting brick walls white has come up often. A quick search shows that there are not many tutorials on painting brick walls white. I personally have a hard time with turning brick white!

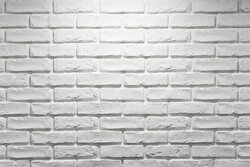
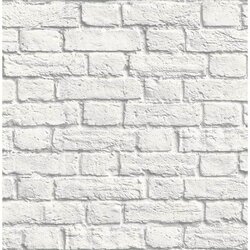
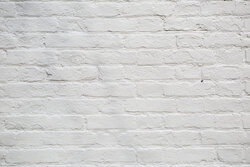
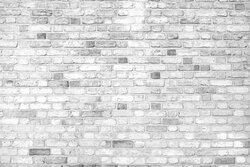
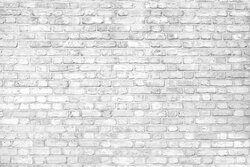
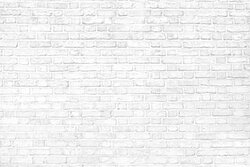
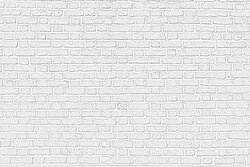
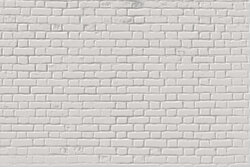
These are actual images of brick walls painted white..........with paint!
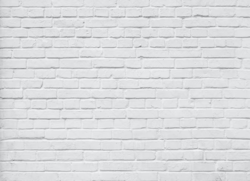
preview-880406-qh4kmB8Qlxu1yiVq-large.png depositphotos_358647044-stock-photo-old-brick-wall-background.jpg
brewster-wallpaper-samples-uw24763sam-64_600.jpg 360_F_308317042_QumesaSMmATK3CYpqlrQdpkRTGQfXsBn.jpg

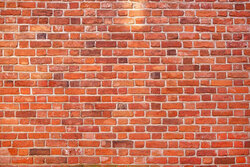
Here is a sample Red Brick Wall.
RedBrickWall.jpg

I would like to see how everyone would make this sample wall look as though it were painted white!
Please be as descriptive as you can with any explanations! Thanks!
This might help others in the future with the task and serve as a great reference for those seeking out the technique!
 

IamSam

Administrator
Staff member
Administrator
Messages
22,761
Likes
13,269
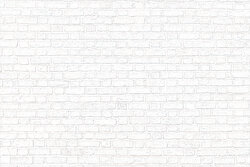
This is one attempt I have made. Not sure I like it. Still missing something.........contrast.

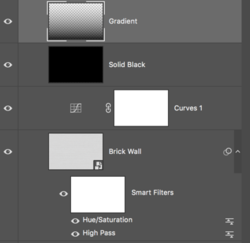
Started with the wall layer.
Duplicated
Convert the duplicate to SO
Add a High Pass Filter set to 3.0
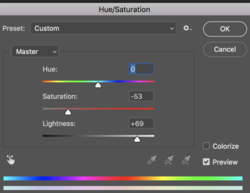
Add a Hue & Sat
Screen Shot 2022-08-02 at 8.52.01 PM.png

Add a Curves Adj layer
Add a Solid Black fill layer set to "Overlay"
Add a Foreground to Transparent Gradient layer......bottom to top. Set to "Overlay". Drop the opacity to 40%
RedBrickWall_02.jpg
Screen Shot 2022-08-02 at 8.56.52 PM.png
 

Rich54

Guru
Messages
1,739
Likes
3,425
Definitely a tough one. Here's what I tried.
  • Added a B&W adjustment layer above the original red brick layer.
  • In the B&W adjustment, I increased the brightness of the red channel to a setting of 130.
  • This got me here:
Brick1.jpg


  • Next, I added two Levels adjustment layers, one that lightens the darks and one that darkens the lights.
  • In the layer mask(s), I selectively darkened or lightened individual bricks to get closer to a uniform luminosity, simulating an even coat of paint.
  • This got me here:
Brick2.jpg


  • Added a new layer filled with white with blend mode of Soft Light.
  • Did a frequency separation on the original red brick layer, discarding the low-frequency layer and retaining only the high-frequency layer (with blend mode of Linear Light).
  • Promoted the high-frequency layer to the top of the stack. Gave it a Gaussian blur of 4 pixels to tone it back, as if the detailed texture were smoothed-over by a coat of paint.
  • Lastly, applied a final Levels adjustment on the overall image to reduce the contrast (lighten the darks).
  • Final result:
RedBrickWall.jpg
 

Rich54

Guru
Messages
1,739
Likes
3,425
Woke up briefly at 4am and thought of a more direct way:
  • Perform a frequency separation on the red brick image. Discard the low-freq layer and keep only the high-freq layer (set to Linear Light).
  • Immediately below the high-freq layer, create a solid color adjustent layer with Normal blend mode. Set color to a very light gray (such as 240,240,240).
  • You could be done right here. Optional step... create a Stamp Visible layer at the top and give it a surface blur to simulate thick paint that has smoothed-over some of the roughness.

RedBrickWall2.jpg
 

IamSam

Administrator
Staff member
Administrator
Messages
22,761
Likes
13,269
If it makes any sense at all..............with the real painted walls, there seems to be a "glossy" appearance that I cant figure out! We may have the white figured out, but it's dull. Your result in post #4 looks close though!
 

Rich54

Guru
Messages
1,739
Likes
3,425
I have to go out and won't be back until tonight. I'll think about how to add some gloss.
 

Rich54

Guru
Messages
1,739
Likes
3,425
Tough to add gloss or white highlights to something that is already nearly white.
What do you think of this one? Any better?

RedBrickWall2.jpg
 

IamSam

Administrator
Staff member
Administrator
Messages
22,761
Likes
13,269
What do you think of this one? Any better?
Well, now it's starting to look more "whitewashed" instead of painted.

I really like the wall you posted in post #4. That one looks painted to me!

Here's my latest attempt at adding a gloss.......................not sure I like it. Lost it's contrast.
RedBrickWall_03.jpg
 

Rich54

Guru
Messages
1,739
Likes
3,425
Well, now it's starting to look more "whitewashed" instead of painted.
I really like the wall you posted in post #4. That one looks painted to me!
Here's my latest attempt at adding a gloss.......................not sure I like it. Lost it's contrast.

Yeah, it's a tricky dilemma. If it's painted white, the paint would likely be thick and hide most of the texture, and the grout and bricks would be the same color. But... doing all that will result in a lack of contrast. Aside from my post #4, I'm out of ideas.
 
Messages
4,145
Likes
6,072
My workflow is "old school".

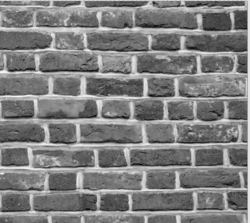
From the color brick image make a selection of the Blue channel, an copy paste it into the Red channel, and also into the green channel.
The result is a grey image.
1.png

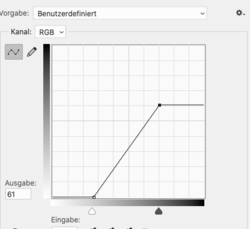
Use curves to make the bricks flat.
Save this image now as your background layer. (It'll be reduced to a very light grey later in the process.)
2.png 3.png


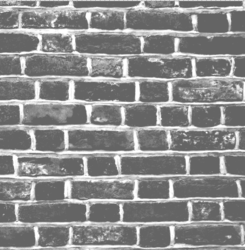
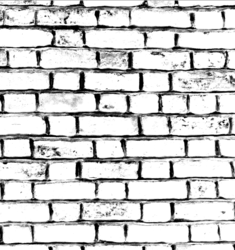
Now duplicate this layer and invert it. (This'll be your Gloss Layer) Use the curves. You'll get a black outline of the white spaces between the bricks.
4.png 5.png


Your document has just 2 layers.
The Background layer (grey bricks) and the Gloss layer, (Black spaces between the bricks).

77.png

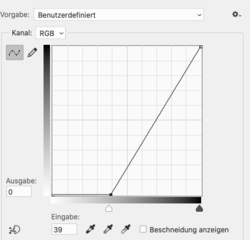
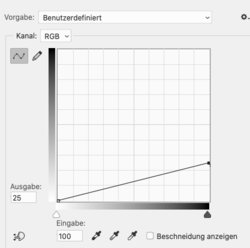
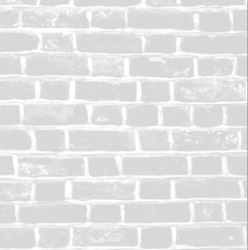
Use curves on the background layer to reduce the grey color to a light grey of 20%.
6.png7.png

Set the gloss layer to multiply, and reduce opacity to 3o%. Apply gaussian blur 3 pixel.
9.png

The very last step is the important one. It makes the Gloss effect visible.
Now select the background layer and move it 5 pixel to the left side, and 5 pixel upwards.

You'll experience a soft 3D effect of the bricks like painted a glossy white.
8.png
 

JeffK

Guru
Messages
2,497
Likes
2,898
From the color brick image make a selection of the Blue channel, an copy paste it into the Red channel, and also into the green channel.
The result is a grey image.
Can't get past this first step - how do you paste one channel into another?
 
Messages
4,145
Likes
6,072
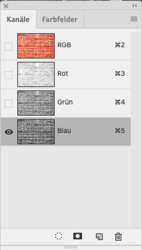
These are the channels of the brick RGB image.

Click with the mouse on the Blue channel. It'll show the eye symbol.
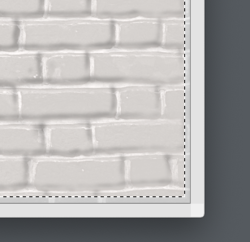
Make a selection with command a (See the white running line)
Command c will put the blue channel into the clipboard . You don't see anything.
Now click on the green channel. It'll show the eye symbol. command v inserts the blue channel into the green channel.

The same procedure applies for putting the blue channel into the red channel.

Bildschirmfoto 2022-08-05 um 21.40.30.png
 

Top