What's new
Photoshop Gurus Forum

Welcome to Photoshop Gurus forum. Register a free account today to become a member! It's completely free. Once signed in, you'll enjoy an ad-free experience and be able to participate on this site by adding your own topics and posts, as well as connect with other members through your own private inbox!

How to change stains/difference on a wooden board into a solid color


Dis_zz

New Member
Messages
1
Likes
0
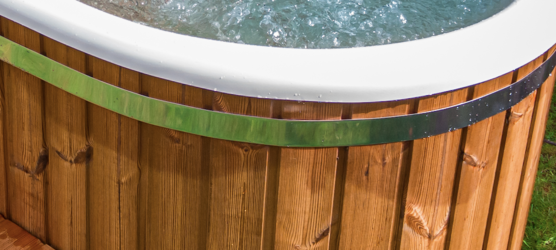
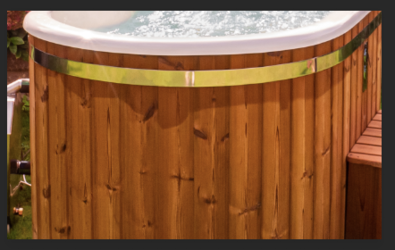
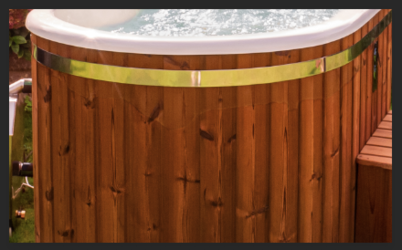
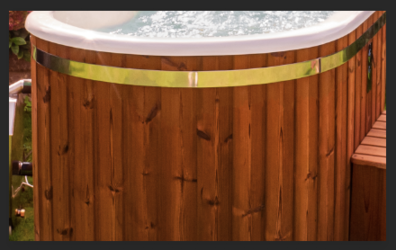
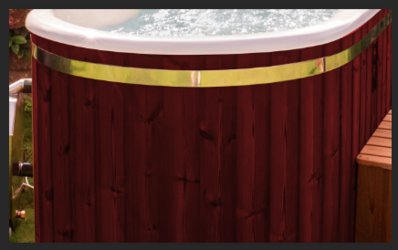
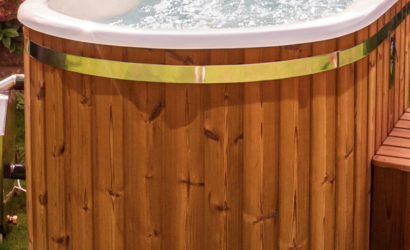
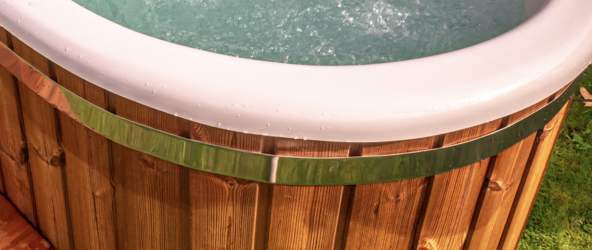
Hi Guys, look please at my example. As You can see the wooden board has a difference in painting between the top and bottom sides. You can see there are actually lacquer stains. What is the best way to improve/change these stains into solid painting color? Any recommendations are welcome and thanks in advance!
Schermafbeelding 2022-10-06 om 22.31.02.png

Schermafbeelding 2022-10-06 om 22.31.21.png

Schermafbeelding 2022-10-06 om 22.31.36.png
 
Hey! Welcome to PSG! Sorry for the late reply..............just been crazy busy at work!

As for your question, I would............

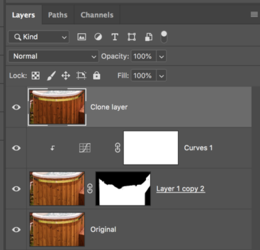
Duplicate the image
Add a layer mask to the duplicated image
Add a curves adjustment layer, clip it to the duplicate image layer, and adjust the lower half of the hot tub to match the stained area.
Use Brush Tool (on layer mask) to trace the border.
Original...
Screen Shot 2022-10-07 at 8.30.55 AM.png

Adjusted...
Screen Shot 2022-10-07 at 8.31.07 AM.png

You still have a line.
Merge a copy of all visible layers into target layer (Command + Shift + Option + E)

Use the Clone Stamp Tool to clone out the line.
Done
Screen Shot 2022-10-07 at 8.38.55 AM.png
Screen Shot 2022-10-07 at 8.40.30 AM.png

You can always mask the wood area and lighten if you feel it's too dark. Or you can now add a solid color/Hue&Sat layer with a blend to make it look stained.
Painting a solid color will require several other steps.
Reddish stain....
Screen Shot 2022-10-07 at 8.57.15 AM.png
 
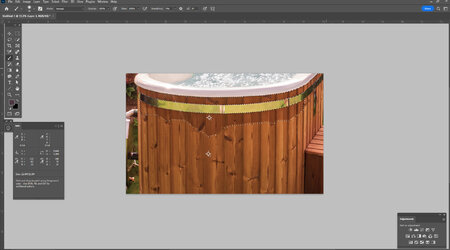
Another approach is make a feathered selection of the darker area,

Screenshot-(2).jpg
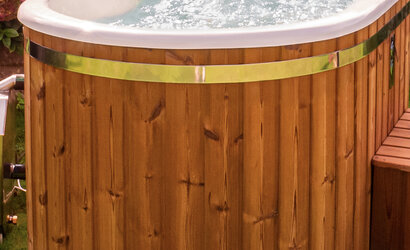
set colour samples as shown and with the selection active, open a curves adjustment layer. Match the RGB values shown for #2 to those of #1. Any visible dividing lines can easily be covered with the clone tool.

Shadow-blend.jpg
 

Back
Top