Photoshop Tutorials
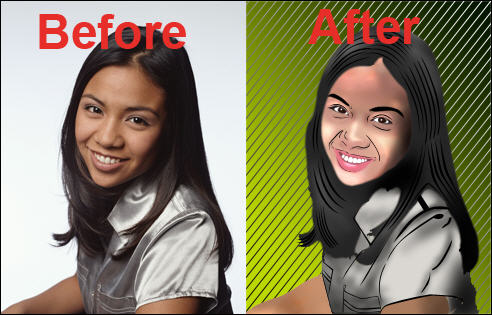
Converting an image into comic style pop art
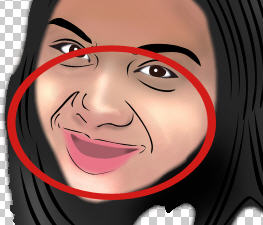
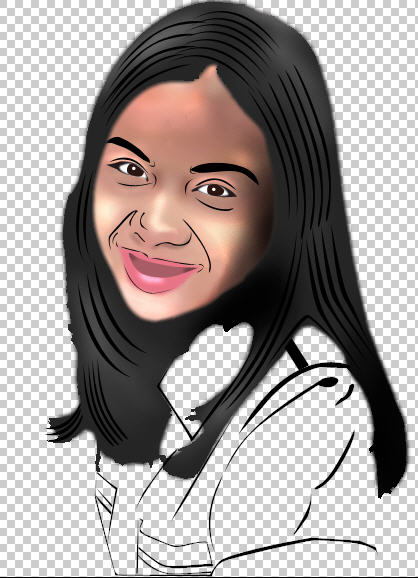
Pop art is in vogue. It's every where. Be it print adds, tv commercial or web advertisements. In this tutorial we'll take portrait image |
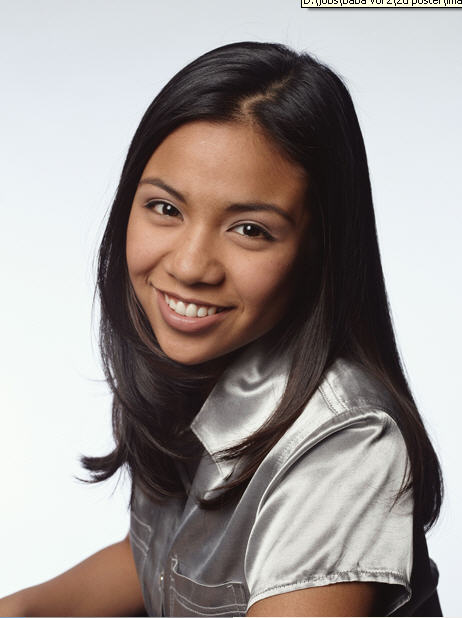 |
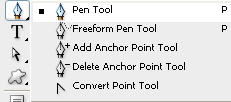
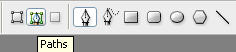
Select pen tool. |
|
Enable paths mode from the top bar. |
 |
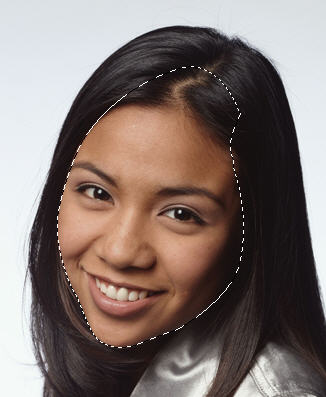
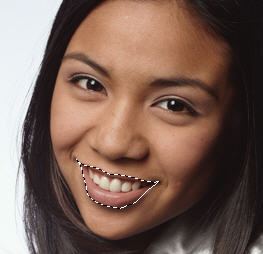
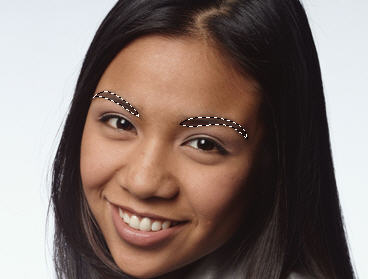
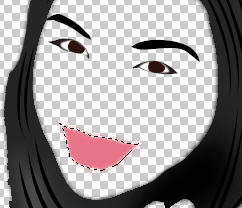
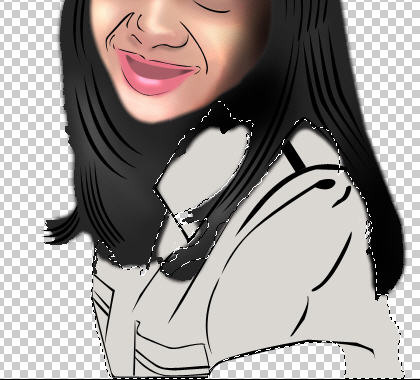
Draw a path surrounding the face of girl. |
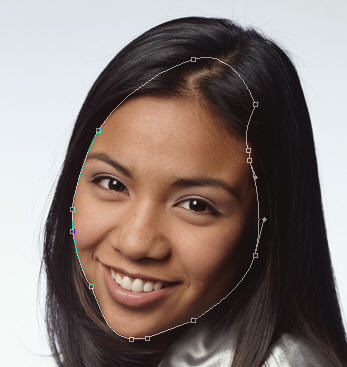 |
| Have a look at the flash clip below to see how we did this. |
Press Ctrl+Enter to create a selection out of this path. |
|
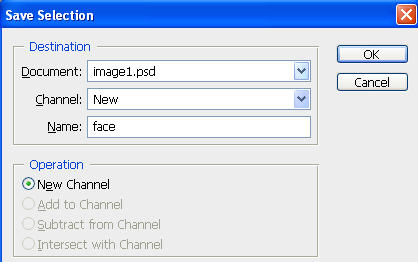
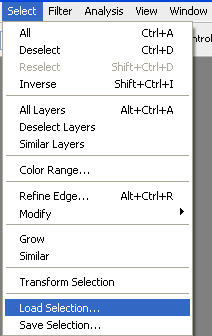
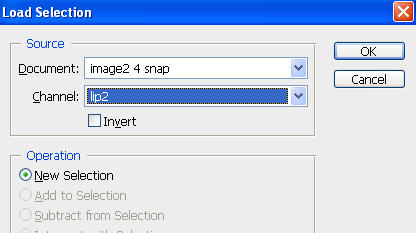
From select menu click save selection. |
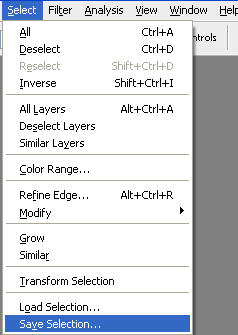 |
Give it name and click ok button. |
|
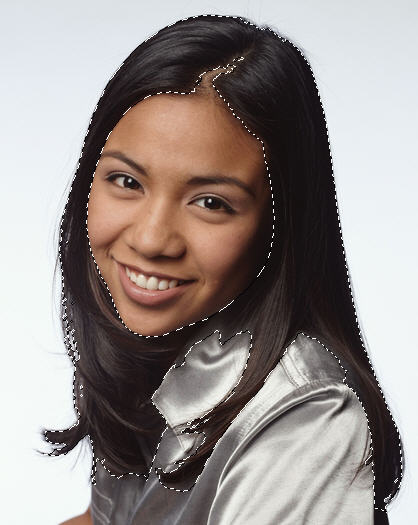
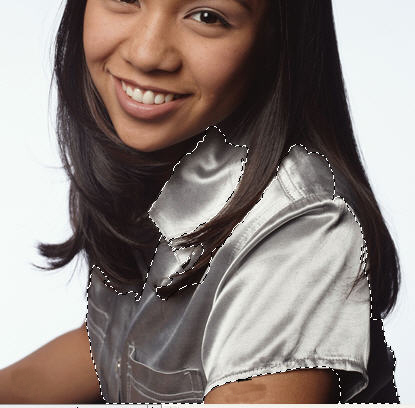
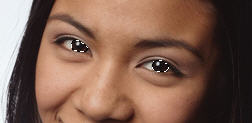
Select her hair, clothes, eyes, lips,etc and save it in separate channels as we did with face. |
|
 |
 |
|
|
 |
|
 |
 |
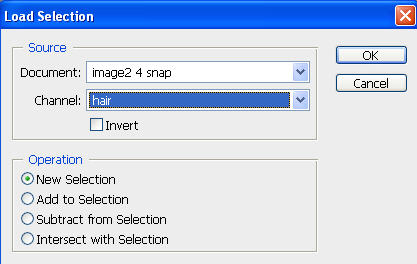
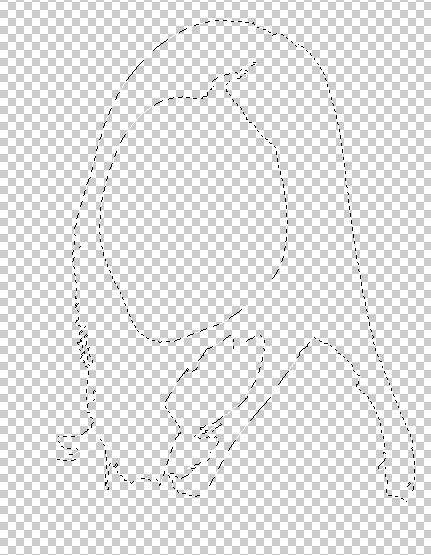
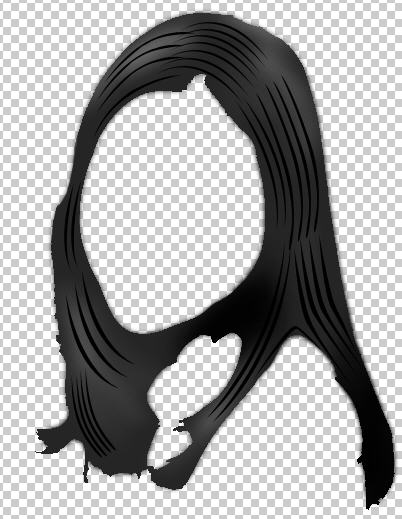
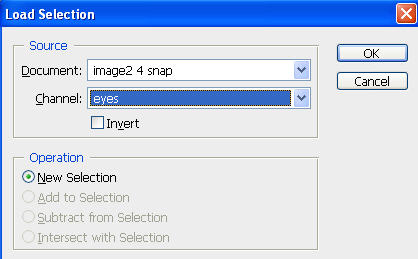
Now turn off visibility of image layer. Go to Select > Load selection. Select hair in channel option. |
 |
 |
 |
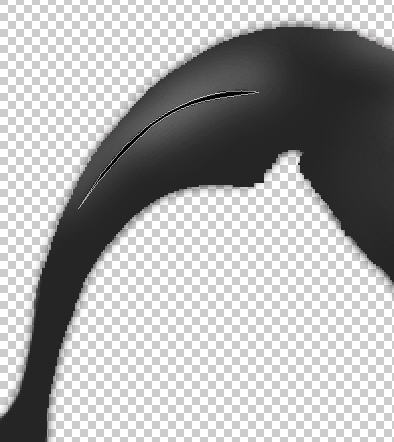
Click on new layer button in layer palette. Fill it with black color as shown. |
 |
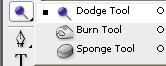
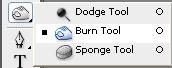
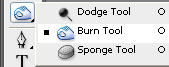
Select Dodge tool. |
 |
At the options bar at the top adjust settings as shown below. |
|
Apply dodge tool wherever you need to show some highlights. |
 |
Create a hair strand shape using pen tool. |
 |
Create more such shapes randomly and place on both side of the hair partition. |
 |
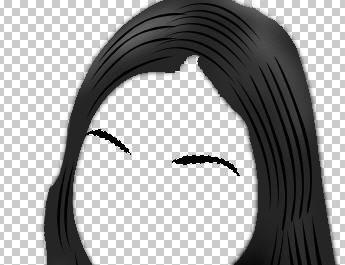
Now go to Select > Load selection and select eye brow. |
 |
Similarly create a new layer and fill with black color. |
 |
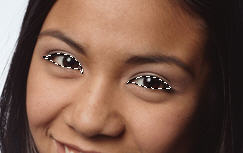
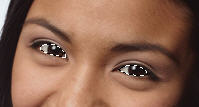
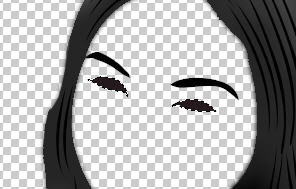
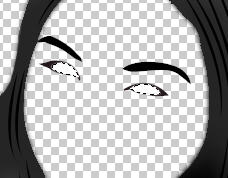
Go to Select > Load selection select eyes, Click on new layer and fill it with black color. |
 |
 |
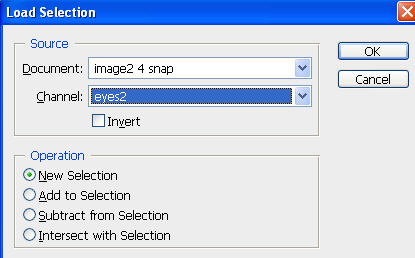
Again go to Select > Load selection select eyes2, Click on new layer and fill it with white color. |
 |
 |
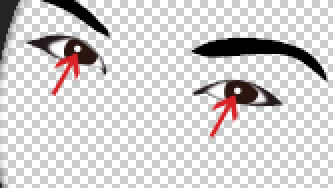
Again go to Select > Load selection select eye ball, Click on new layer and fill it with black color. |
 |
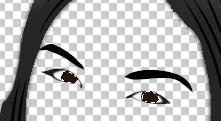 |
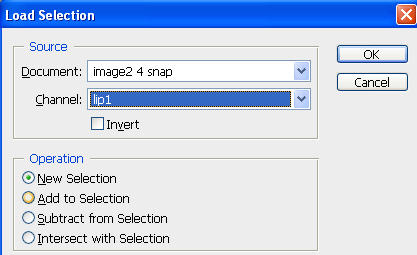
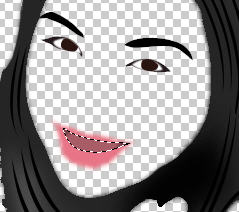
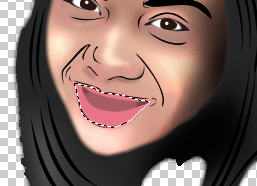
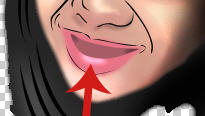
Again go to Select > Load selection select lip1, Click on new layer and fill it with pink color. |
 |
 |
Again go to Select > Load selection select lip1 and fill it with dark pink color. |
 |
 |
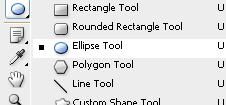
Create two tiny ellipses using elliptical shape tool and place it as shown. |
 |
 |
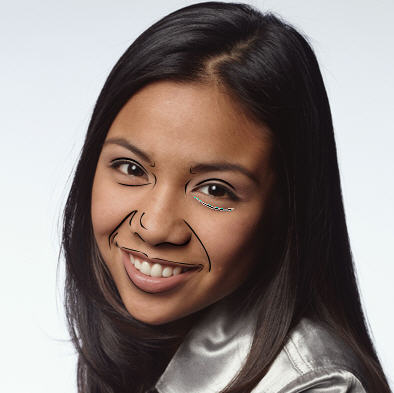
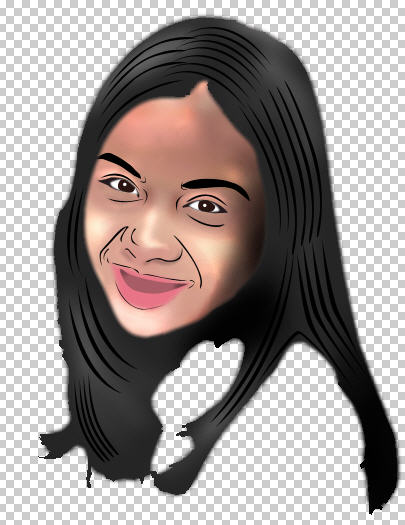
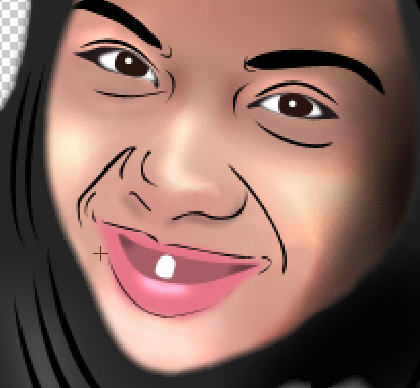
Now turn on the visibility for girl layer. Select pen tool and draw the facial details of face as shown below. |
 |
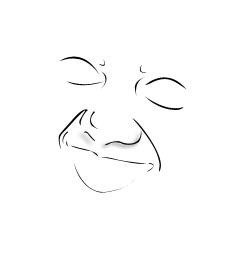
Turn off the visibility of girl layer to view what we have created right now. |
 |
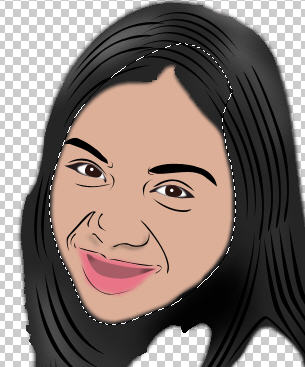
Select > Load Selection. Choose face from the channel. Create a new layer and fill it with skin color as shown. Move this layer below the facial features layers in layer order in layer palette. |
 |
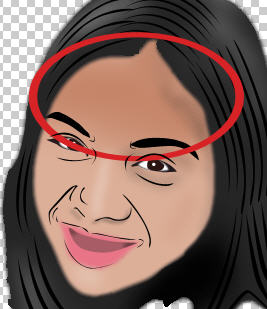
Select the Burn tool. |
 |
Adjust setting on the top bar as shown below. |
Apply this tool on the forehead. |
 |
Again same tool. Adjust the properties as shown below and apply as shown below. |
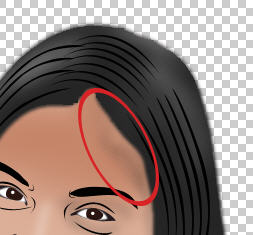 |
 |
Select the Brush tool. |
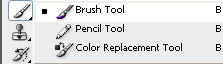 |
Adjust properties as shown below. |
Select the foreground color and fill it's properties as shown. |
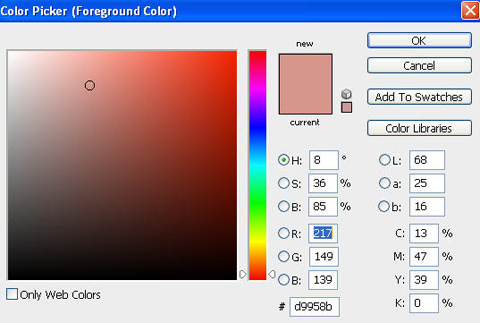 |
Drag the brush all over the face. |
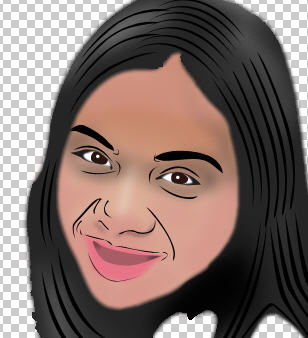 |
Select the Dodge tool. |
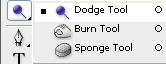 |
Adjust properties as shown below. |
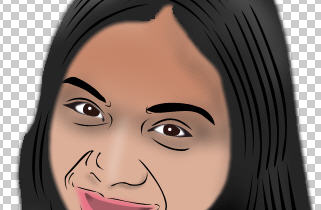
Drag this tool on cheeks, nose and chin etc as shown. It will add highlights to the area. |
 |
 |
Select the Dodge tool. |
 |
Adjust properties as shown below. |
Drag it on right side of the face as shown below to add shadow. |
 |
Select lips layer. |
 |
Select Dodge tool. Adjust properties as shown below. |
Drag this tool on lips to highlight the lips as shown. |
 |
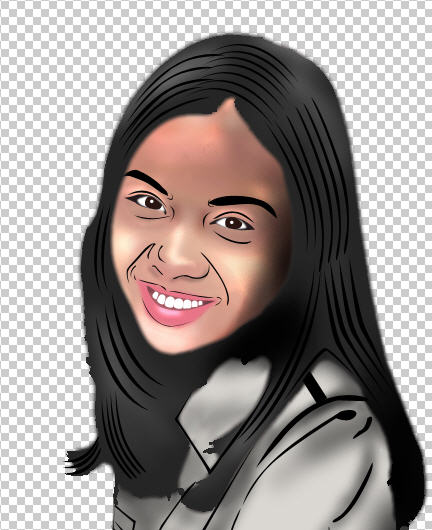
Turn the visibility of girl layer on and select pen tool. Draw details of clothes. |
 |
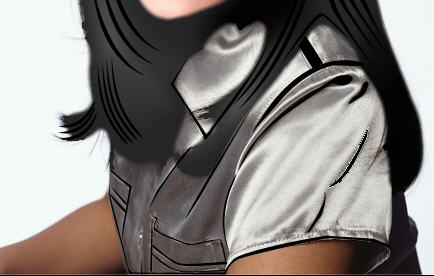 |
Turn off visibility of girl layer and figure as shown. |
 |
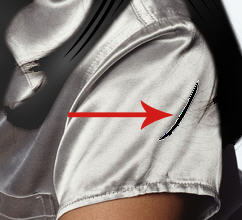
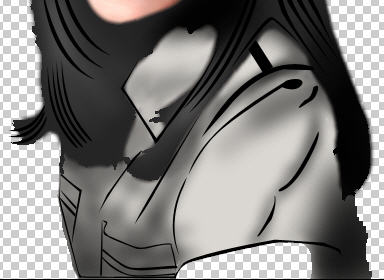
Select > Load Selection select clothes and fill it with gray color. |
 |
 |
Select Burn tool and adjust properties as shown below. |
Apply it on clothes area to add shadows. |
 |
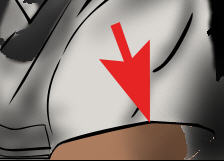
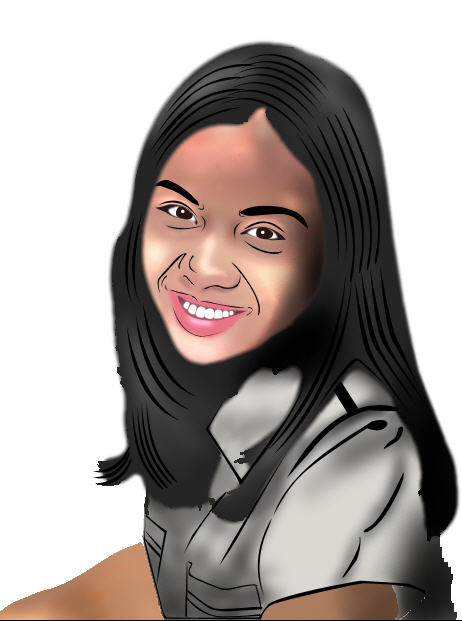
Select > Load Selection select hand and fill it with skin color as shown. |
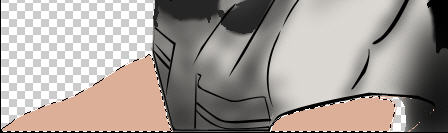 |
Now select Dodge tool and adjust properties as shown below. |
Drag it on the hand as shown below. |
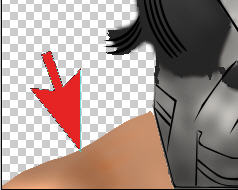 |
Now select Burn tool and adjust properties as shown below. |
 |
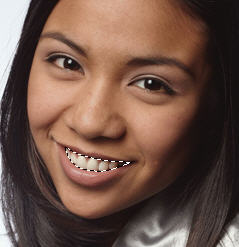
Create a rounded rectangle using rounded rectangle shape tool and select radius 20 pixel as shown below. |
 |
Press Ctrl+T to transform, rotate rectangle and place it as shown below. |
 |
Press Ctrl+J to duplicate the layer to create more teeth and press Ctrl+T to transform as shown below. |
 |
Select the background layer and turn on the visibility. |
 |
Double click the layer to open layer style window. Apply settings as shown. |
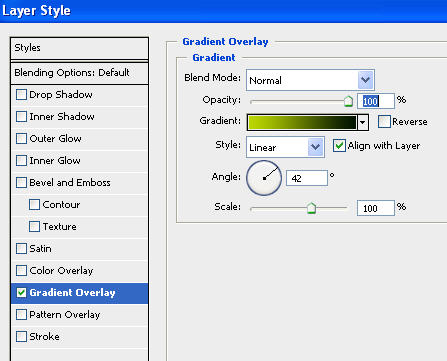 |
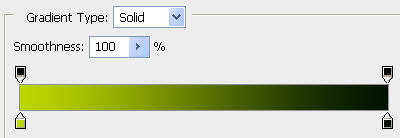 |
 |
Select line tool draw a line. |
 |
Press Ctrl+T and rotate it as shown below. Double click the layer to open layer style window. Apply settings as shown. . |
 |
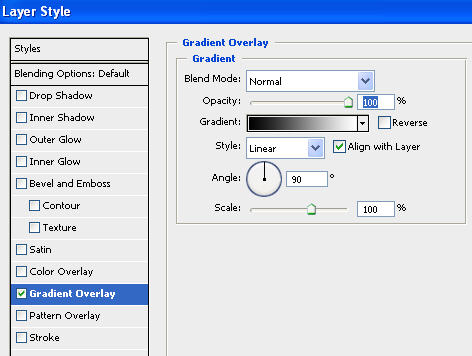 |
 |
Press Ctrl+J to duplicate the line layer. Press Ctrl+T and from keyboard press down and right arrow key 2 times to move the line downwards. Now keep pressing Ctrl+J and Shift+Ctrl+T several times to create the design as shown. |
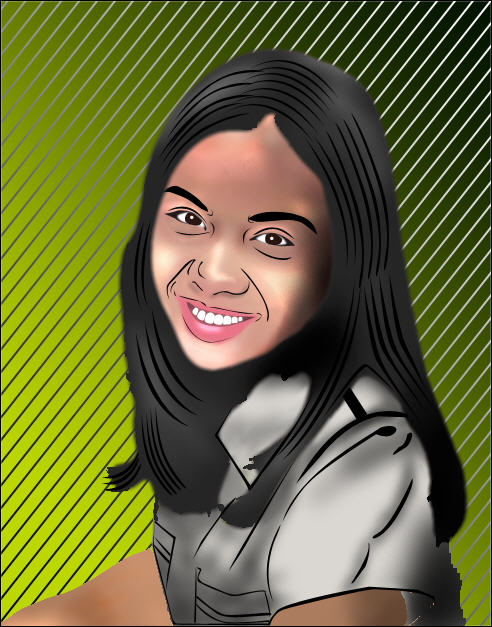 |
 |