Photoshop Tutorials
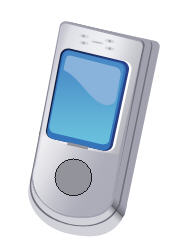
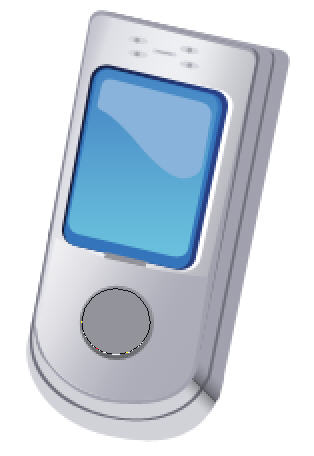
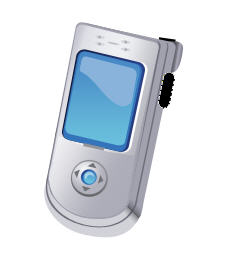
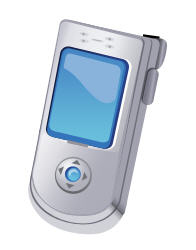
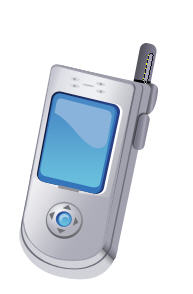
Drawing a Realistic Metallic Cell Phone
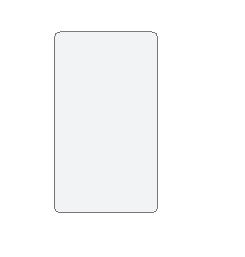
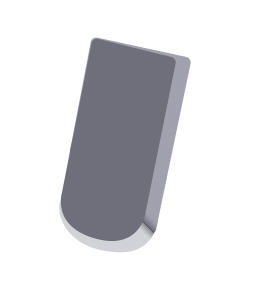
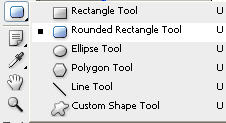
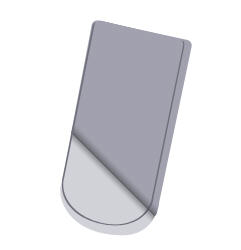
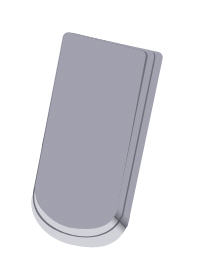
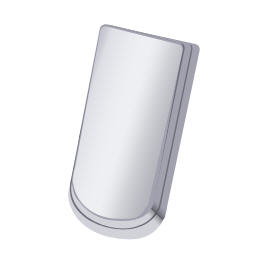
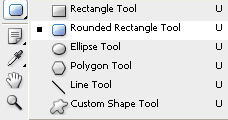
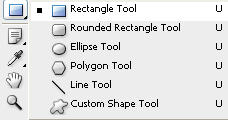
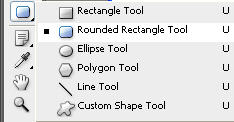
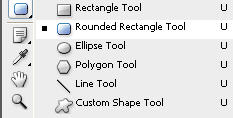
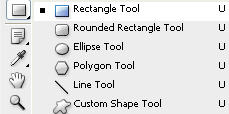
Start by selecting rounded rectangle shape tool (U). Drag the tool on canvas as shown below. |
 |
|
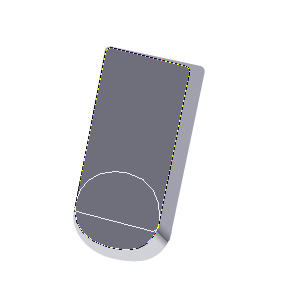
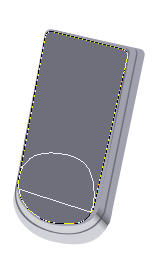
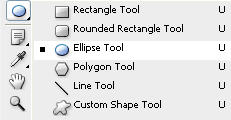
Create an ellipse using
elliptical shape tool. |
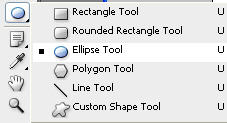 |
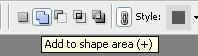
Make sure you select Add to shape area (+) from the option bar at the top. |
|
Drag
so that it's half inside the rounded rectangle and half outside. |
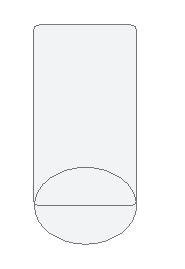 |
Press Ctrl+T and rotate
it as shown. |
|
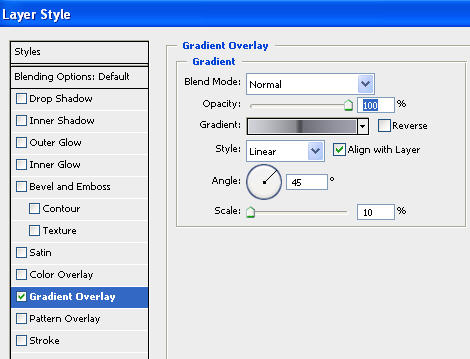
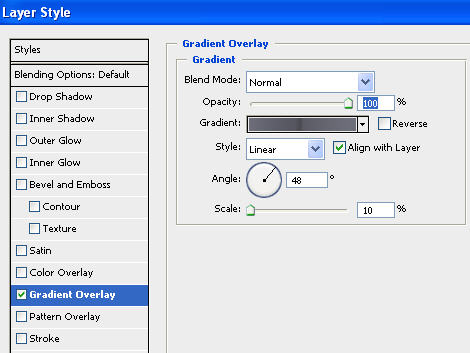
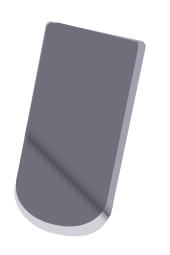
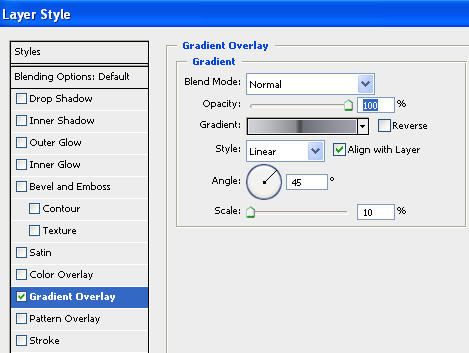
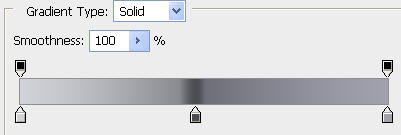
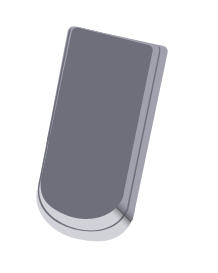
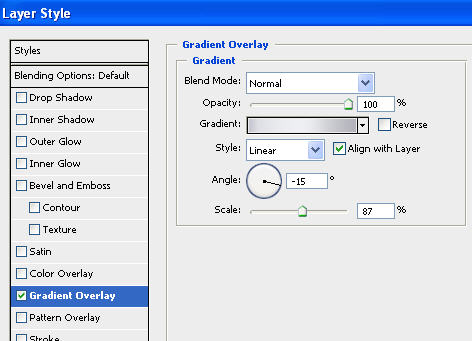
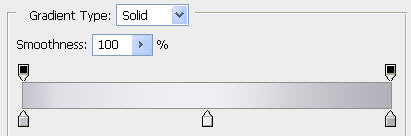
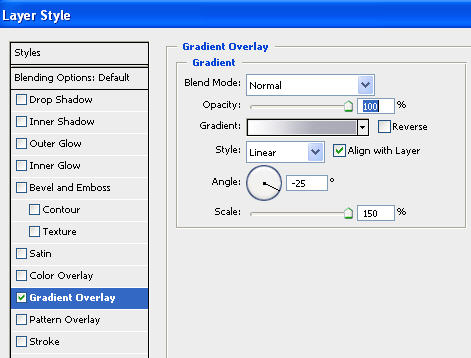
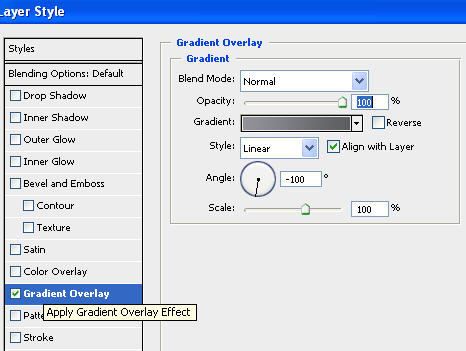
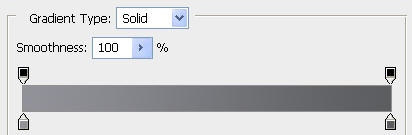
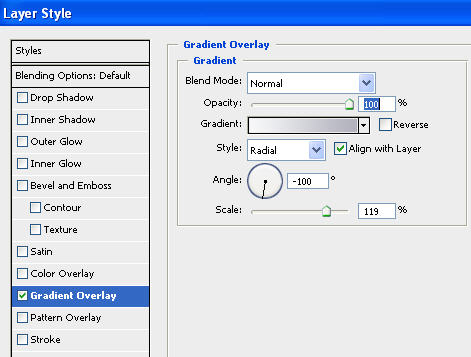
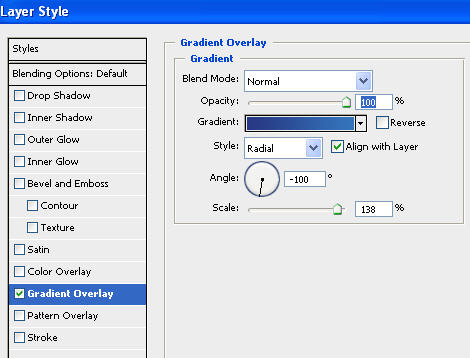
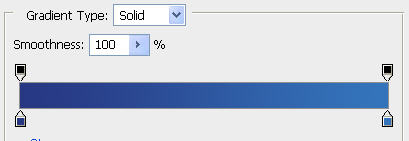
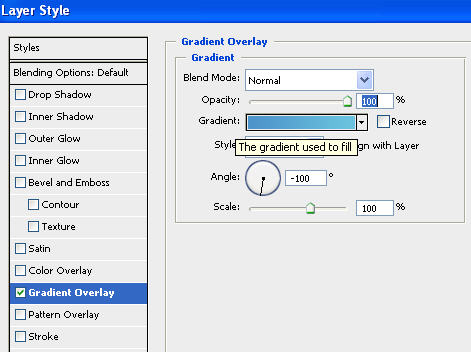
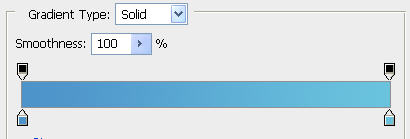
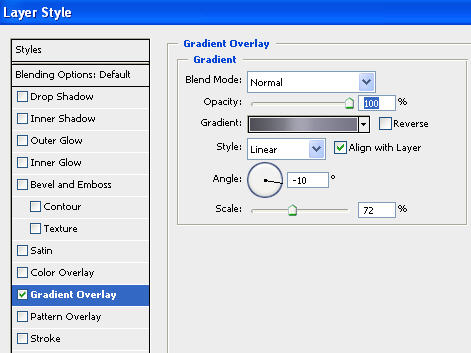
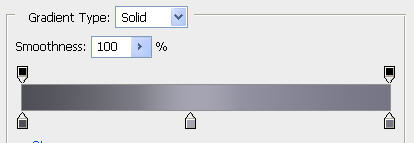
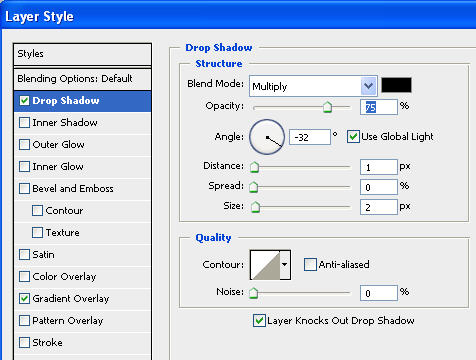
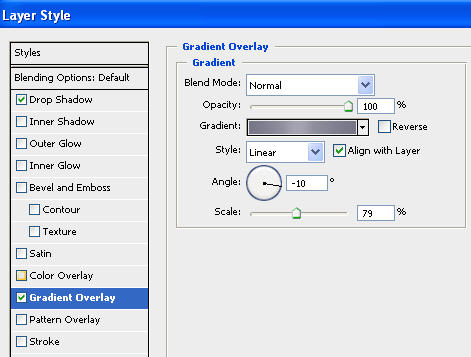
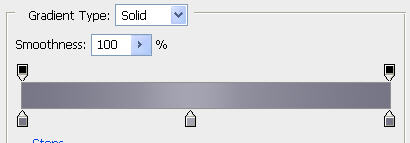
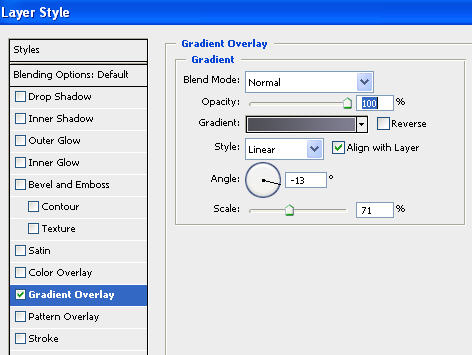
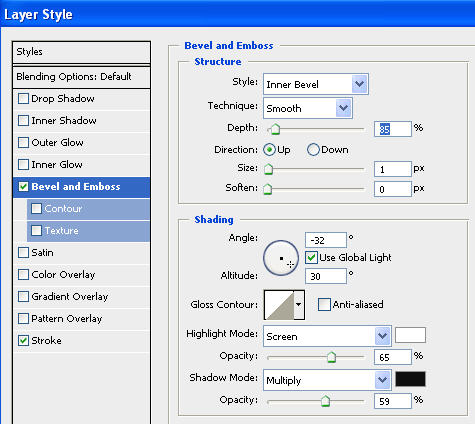
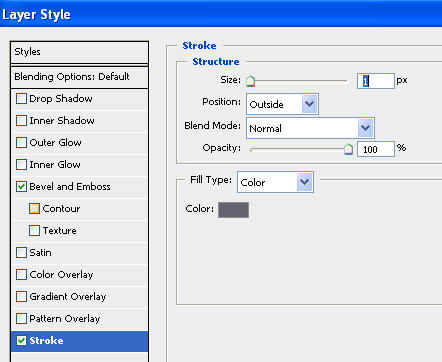
Double click the layer
to open layer style window. Apply settings as shown. |
|
 |
 |
Press Ctrl+J to duplicate
the layer, remove layer style and press Ctrl+T. Scale it down as shown below. |
|
|
Double click the layer to open layer style window. Apply settings as shown. |
 |
|
 |
.Press Ctrl+J to duplicate
the layer. Press Ctrl+T and scale it down slightly. Double click the layer to open layer style window. Apply settings as shown. |
 |
 |
 |
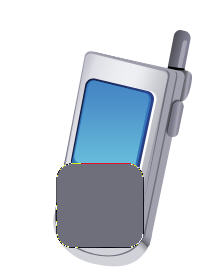
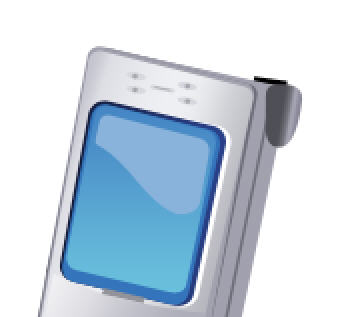
Press Ctrl+J to duplicate
the layer. Remove layer style. Fill this object with darker shade of
gray. |
 |
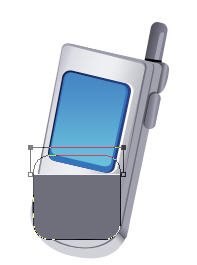
Press Ctrl+J to duplicate
the layer and select it's top right anchor points by direct selection
tool. Move towards up and left as shown below. |
 |
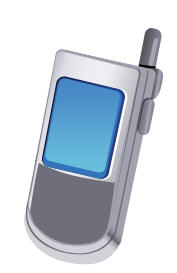
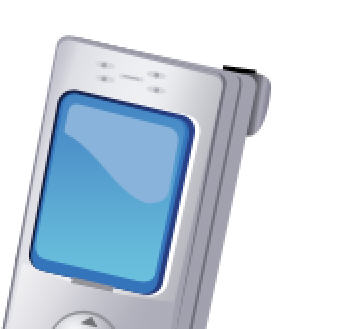
Press Ctrl+J to duplicate
the layer. Remove layer style. Double click the layer to open layer
style window. Apply settings as shown. |
 |
 |
 |
 |
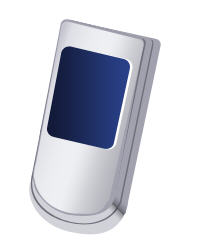
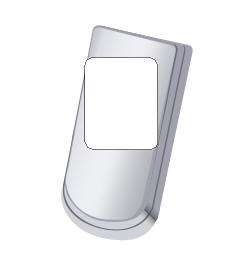
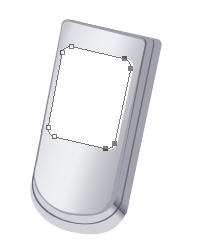
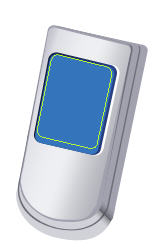
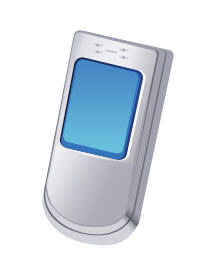
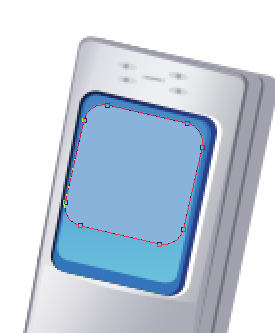
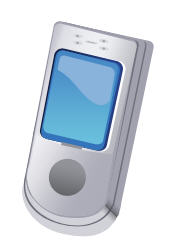
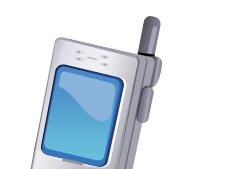
Select the rounded rectangle
tool and drag it as shown below. This will serve as the display screen
of cell phone. |
 |
 |
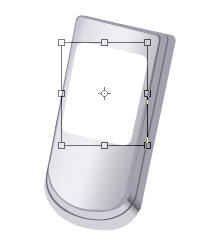
Press Ctrl+T , rotate and
place it as shown below. |
 |
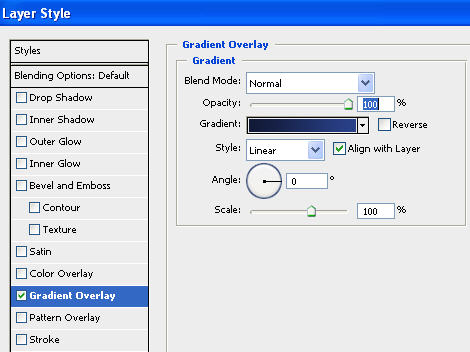
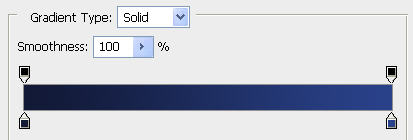
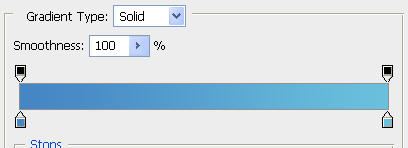
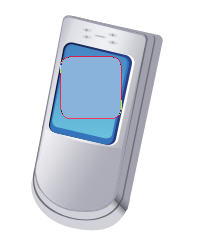
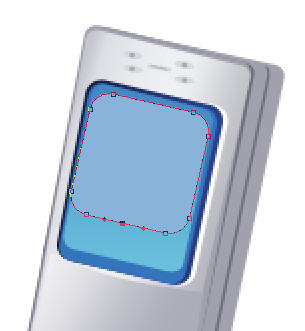
Press Ctrl+J to duplicate
the layer. Select it's anchor points by the direct selection tool and
move it a few pixels left as shown below. Double click the layer to open layer style window. Apply settings as shown. |
 |
 |
 |
|
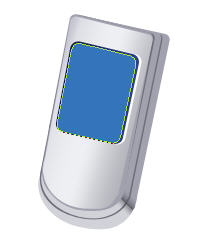
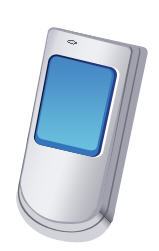
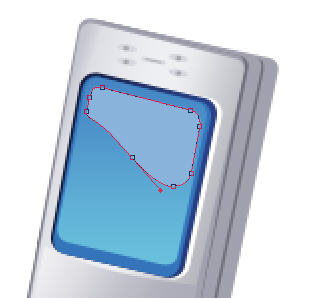
Press Ctrl+J to duplicate
the layer. Remove layer style. Fill this object with another shade of
blue as shown below. |
 |
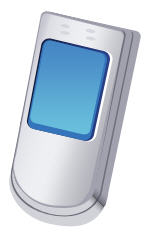
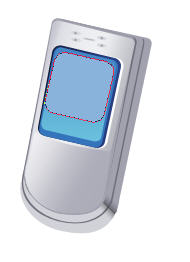
Press Ctrl+J to duplicate
the layer. Scale it down. Double click the layer to open layer style
window. Apply settings as shown. |
 |
 |
 |
 |
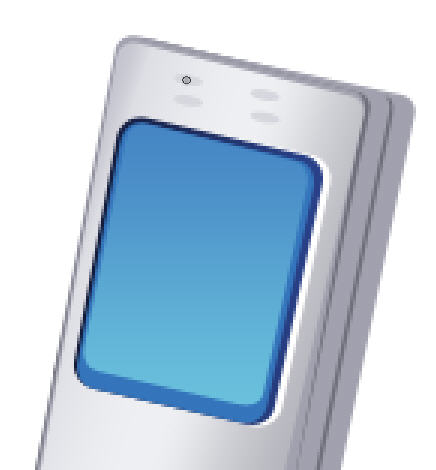
Select ellipse tool. Drag
it upward of the cell phone to create speaker of the phone. |
 |
 |
Press Ctrl+J to duplicate
the layer three more times and place it as shown below. |
 |
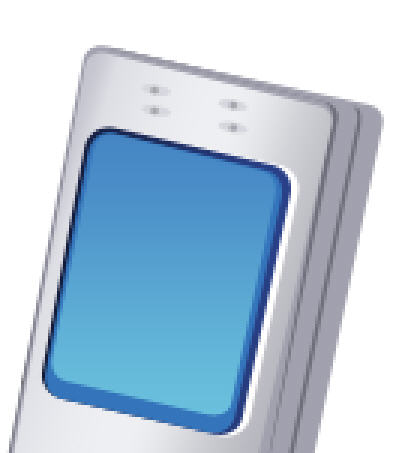
Again select the ellipse
tool and drag it inside the each speaker and fill it with darker gray
shade. |
 |
 |
Create a rounded rectangle
using rounded rectangle shape tool. Press Ctrl+T, rotate and place it
as shown. |
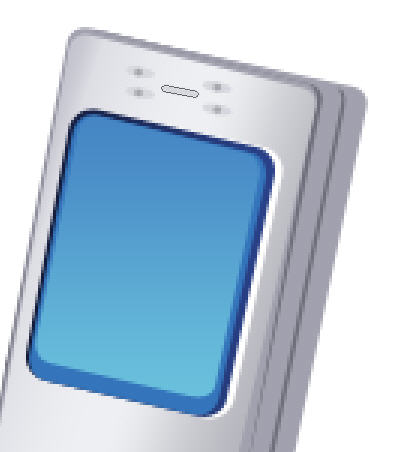 |
Press Ctrl+J to duplicate
the layer. Press Ctrl+T and scale it down as shown below. |
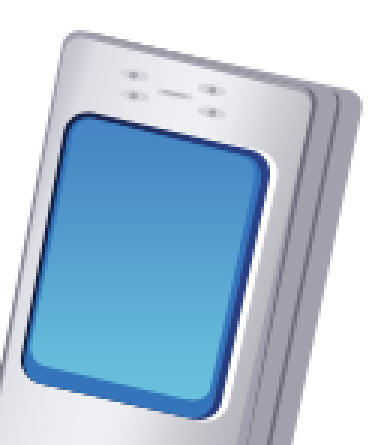 |
Create a rounded rectangle
using rounded rectangle shape tool. |
 |
Enable "subtract from shape
area" at the top bar. Create a rectangle using rectangular shape tool. |
 |
Press Ctrl+T, rotate and
place as shown below. |
 |
Double click the layer
to open layer style window. Apply settings as shown. |
 |
 |
 |
Create a rounded rectangle
using rounded rectangle shape tool. |
 |
Press Ctrl+T, rotate and
place as shown below. |
 |
Select direct selection
tool and the click on the rounded rectangle. |
 |
Select add anchor point
tool and click in the middle of bottom edge of rounded rectangle. |
 |
Using direct selection
tool move the anchor point as shown. |
 |
Create a rectangle using
rectangular shape tool. Press Ctrl+T, rotate and place as shown below. |
 |
Create a circle using elliptical
shape tool. make sure you press shift key while creating this so that
it's a circle rather than ellipse. |
 |
Double click the layer
to open layer style window. Apply settings as shown. |
 |
 |
 |
Press Ctrl+J to duplicate
the layer. Scale it down. |
 |
Double click the layer
to open layer style window. Apply settings as shown. |
 |
 |
 |
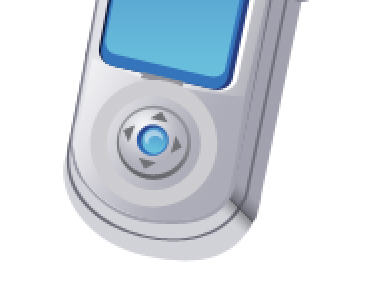
Select custom shape tool
(U). From the preset menu at the top select a triangle shape. |
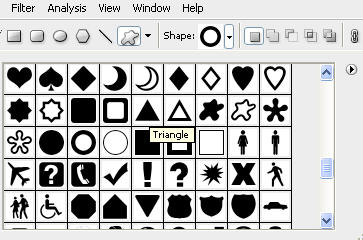 |
Drag it to create a triangular
button. |
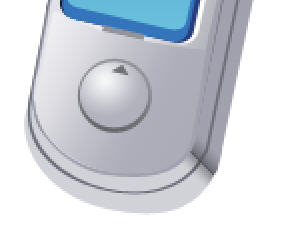 |
Press Ctrl+J thrice to
duplicate the layer. Rotate and place as shown below. |
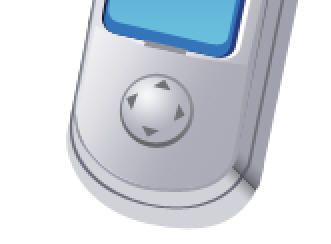 |
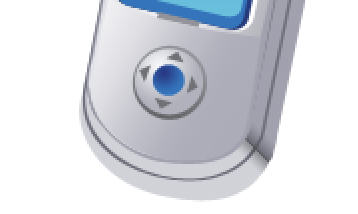
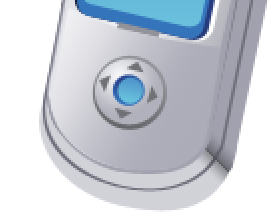
Create a circle using elliptical
shape tool. Make sure you press shift key while creating this so that
it's a circle rather than ellipse. |
 |
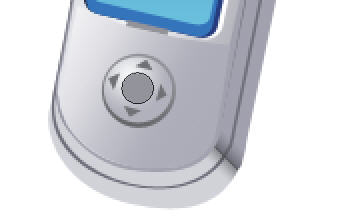 |
Double click the layer
to open layer style window. Apply settings as shown. |
 |
 |
 |
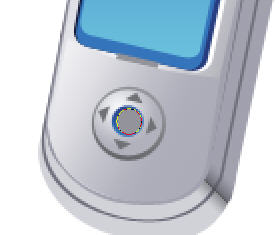
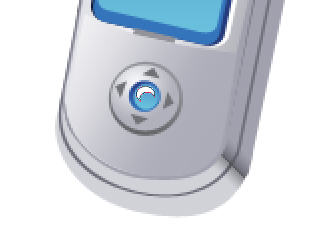
Press Ctrl+J to duplicate
the layer. Scale down a bit. Remove layer style. Double click the layer
to open layer style window. Apply settings as shown. |
 |
 |
 |
 |
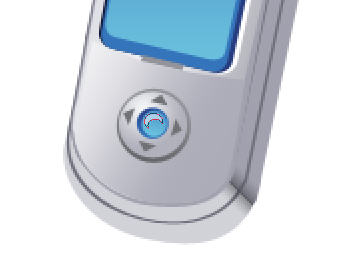
Using custom shape tool
(U), create a shape crescent moon and drag it on the cell phone button. |
 |
 |
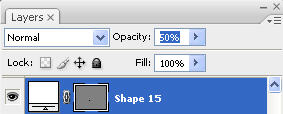
Select the opacity from
the layer palette reduce it by 50%. |
 |
 |
Create a rectangle using
rectangular shape tool. |
 |
 |
Create a rectangle using
rectangular shape tool. |
 |
 |
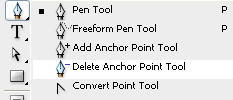
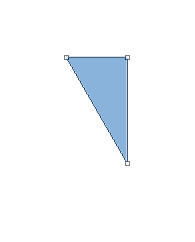
Now select the delete anchor
point tool and delete the bottom left node. |
 |
 |
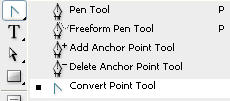
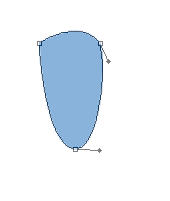
Select the convert point
tool and drag it on the nodes to convert it from angular to cervical. |
 |
 |
| Have a look at the flash clip below to see how we did this. |
Double click the layer
to open layer style window. Apply settings as shown. |
 |
 |
 |
Move this layer below all
the layer in layer order in layer palette. |
 |
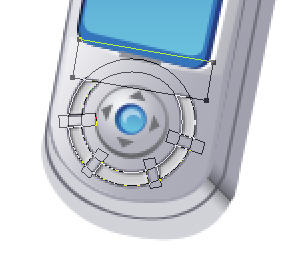
Create a rounded rectangle
using rounded rectangle shape tool. Press Ctrl+T, rotate and place as
shown below. |
 |
 |
Double click the layer
to open layer style window. Apply settings as shown. |
 |
 |
 |
 |
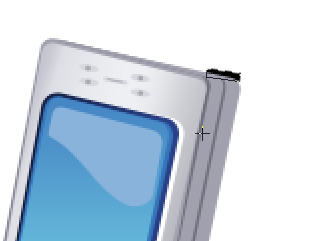
Create a rounded rectangle
using rounded rectangle shape tool. Press Ctrl+T, rotate and place as
shown below. |
 |
 |
Double click the layer
to open layer style window. Apply settings as shown. |
 |
Press Ctrl+J to duplicate
the layer. Remove layer style. Press Ctrl+T and scale down as shown
below. |
 |
 |
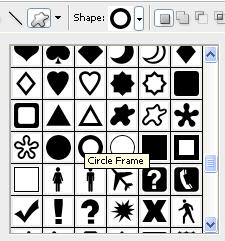
Using custom shape tool
(U), create a circle frame shape. Fill gray color. |
 |
 |
Double click the layer
to open layer style window. Apply settings as shown. |
 |
 |
 |
Select rectangle tool. |
 |
Enable "subtract from shape
area" at the top bar. |
 |
Create five rectangles
using rectangular shape tool. |
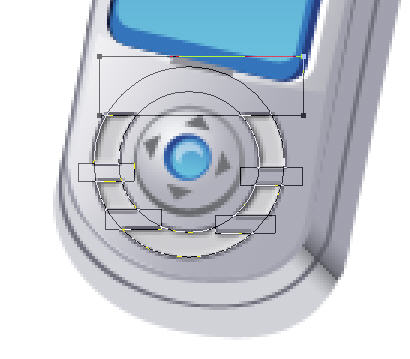 |
Select each rectangle using
path selection tool. Press Ctrl+T, rotate as shown below. |
 |
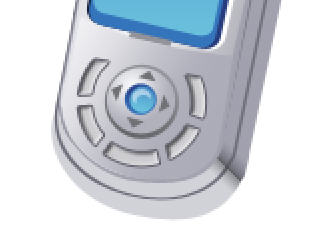 |
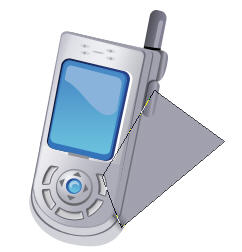
Create a rectangle using
rectangular shape tool. |
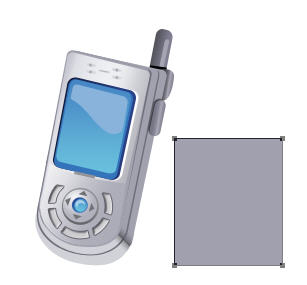 |
Press Ctrl+T. Right Click
and select distort. Adjust the nodes as shown. Move this layer below all the layers in layer order in layer palette. |
 |
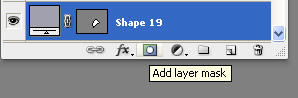
Click on add layer mask
button at the bottom of layer palette. |
 |
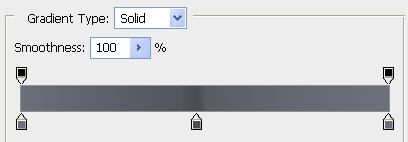
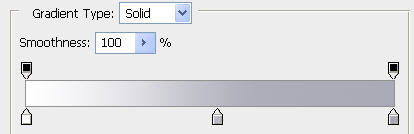
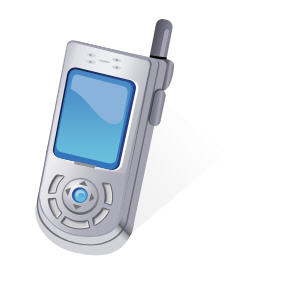
Select the gradient tool. |
Select a black to white
gradient. Enable linear mode. |
Drag it on rectangle to
create a smooth blend. |
 |
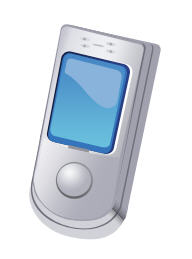
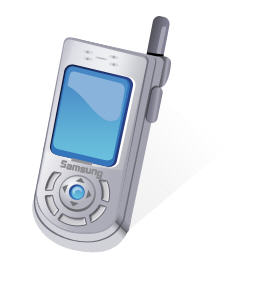
Add company logo or mobile
phone model in an appropriate place. |
 |