Photoshop Tutorials
Designing an Image Collage Style Website Header
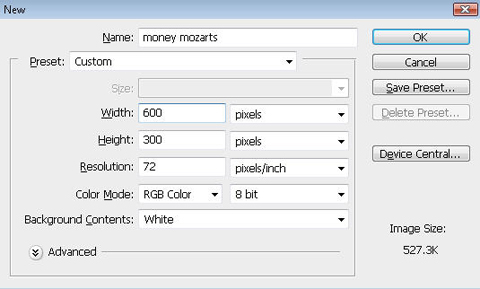
In this tutorial we'll design a business header for an online money making site. Though you can customize this header for any Start by creating a new file(Ctrl+N) of the header size. We took 600 X 300 for Width X Height. |
 |
|
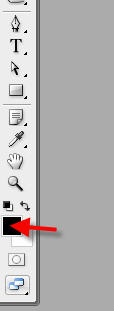
| Click the foreground color in tool palette. It will open the color editor. Create yellow color for the foreground color. |
 |
| Create a new layer in layer palette and press Alt+Del to fill the new layer with yellow color. |
 |
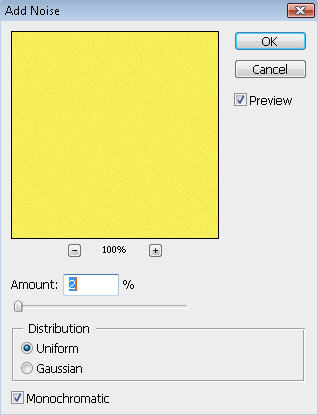
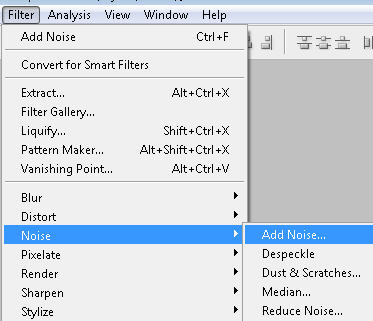
From filter menu select "Noise>>Add Noise". |
 |
Apply settings as shown. |
|
|
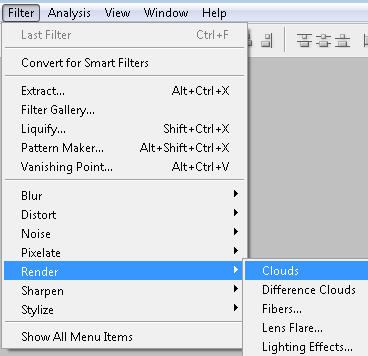
| Make sure your foreground and background colors are set to yellow and white. From filter menu select "Render>>Clouds". |
|
 |
Open a relevant image. In next few steps we are going to blend this image with the background effect and water mark it to create a very subtle effect. |
 |
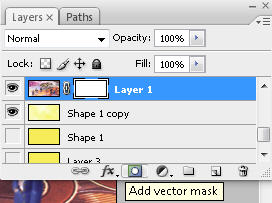
| In layer palette click on Add Layer mask button on the bottom of the layer palette. |
|
Select gradient tool. Create a black to white gradient. Drag from one edge to the other to create a smooth blend as shown below. |
|
 |
| Have a look at the flash clip below. Also notice a few instructions below the flash clip. The process of layer masking to create a smooth blend is recorded live in flash video below. |
Create a rectangle using rectangular shape tool. Place it at the bottom of the header. This will serve as the place holder for the punch line and we are going to place navigation buttons on top of it. |
|
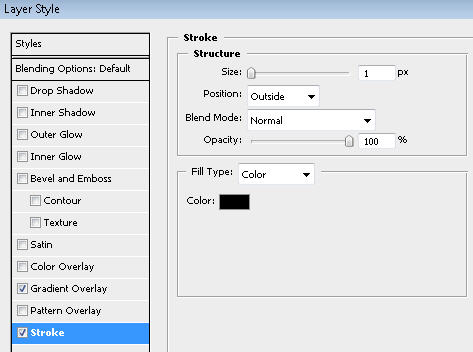
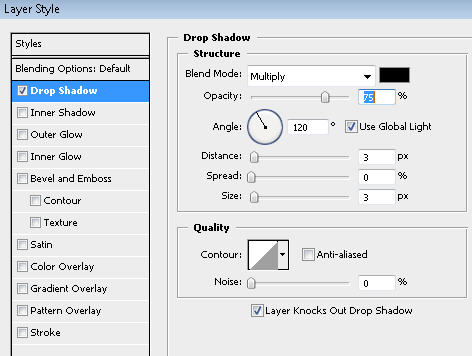
In layer palette double click the layer to open layer style window. Apply settings as shown. |
 |
 |
 |
Insert a cutout of a group of business executives and place on the left hand side of the header. |
 |
Type Site name using a nice font and place the company logo with it. |
 |
| Now we will create the navigation button and apply a sleek bevel effect on them. Create a rounded rectangle using rounded rectangle shape tool. |
 |
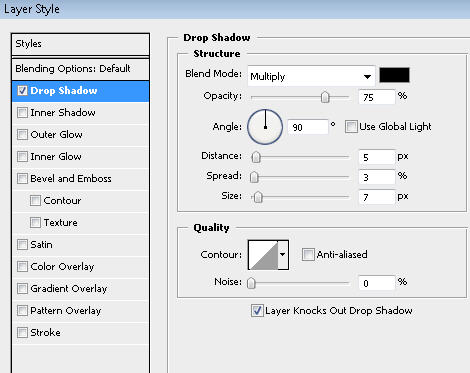
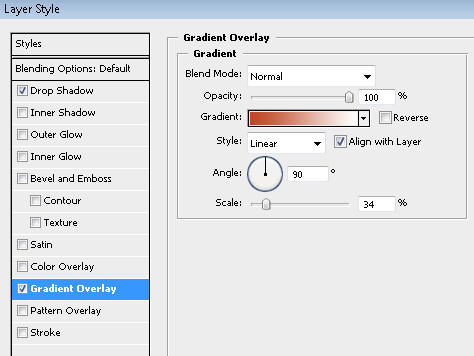
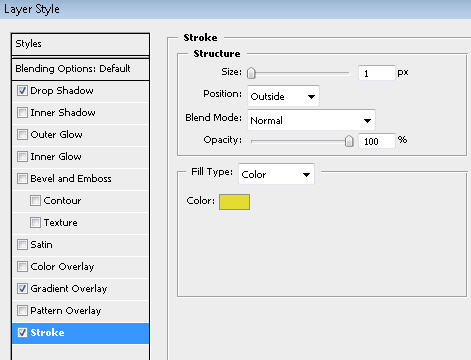
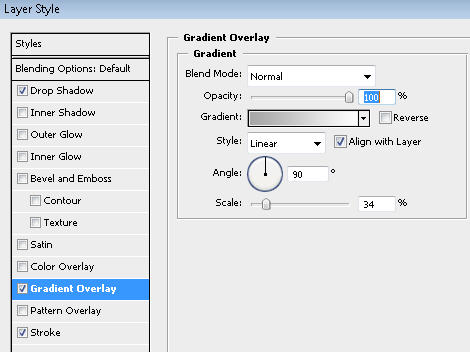
| In layer palette double click the layer to open layer style window. Apply settings as shown. |
 |
 |
 |
 |
| Press Ctrl+J to duplicate the layer and move the rectangle to the right. |
 |
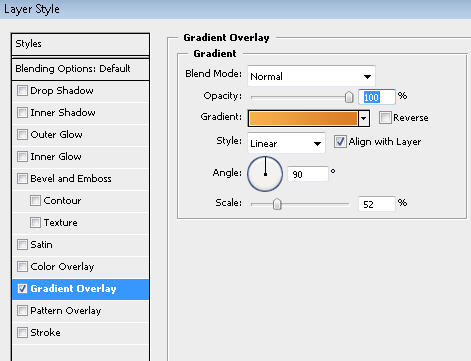
In layer palette double click the layer to open layer style window. In gradient overlay change the gradient colors to a different shade. |
 |
 |
Similarly take some more copies of it and change their gradient overlay layer style color. |
 |
Select all the buttons layer in the layer palette. Move these layers below the punch line place holder rectangle layer in layer order in layer palette. |
 |
Type in the link names over navigation buttons. |
 |
Using a bold font type a catchy punch line and place it as shown below. |
 |
In layer palette double click the layer to open layer style window. Apply settings as shown. |
 |
 |