Photoshop Tutorials
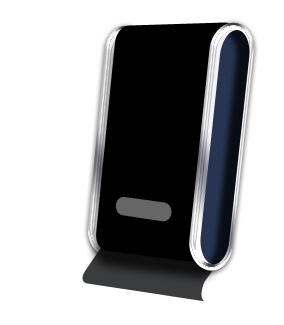
Designing a Computer Speaker
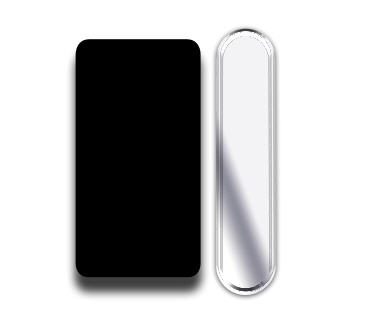
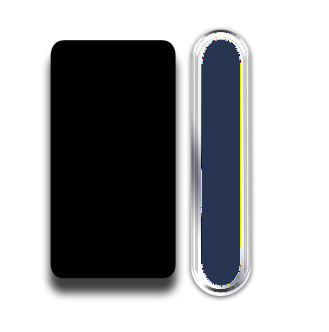
Create a rounded rectangle (Radius 15 pixels) and fill solid black color, using rounded rectangle shape tool. |
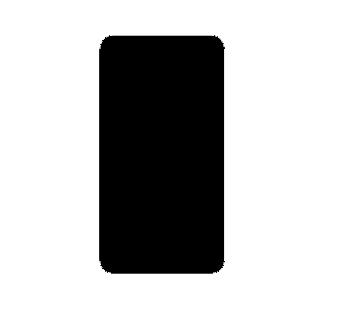 |
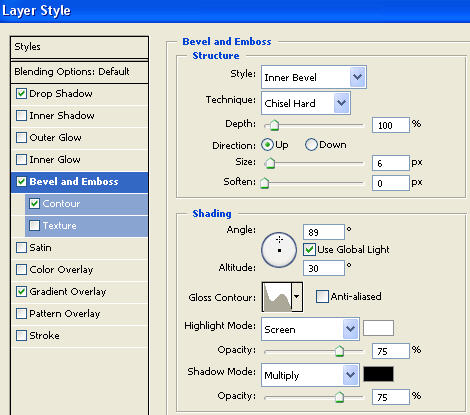
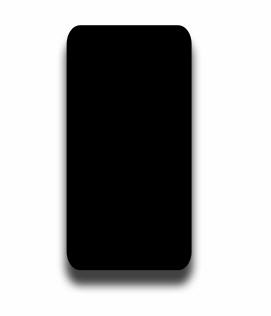
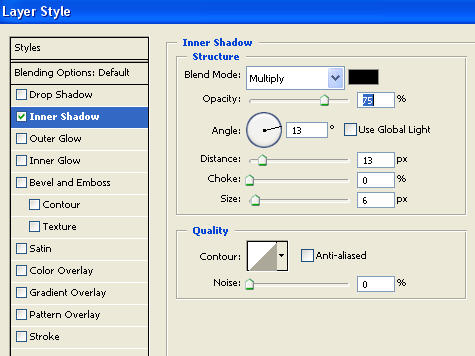
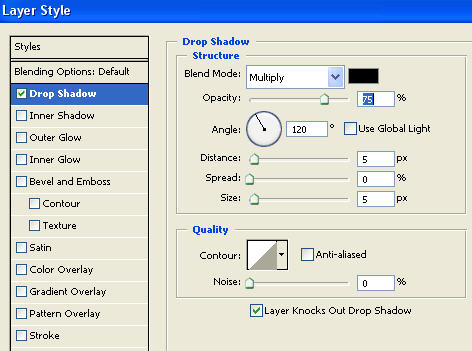
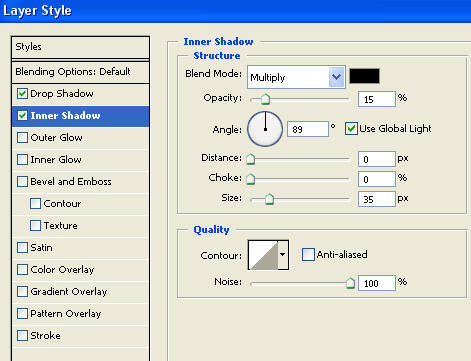
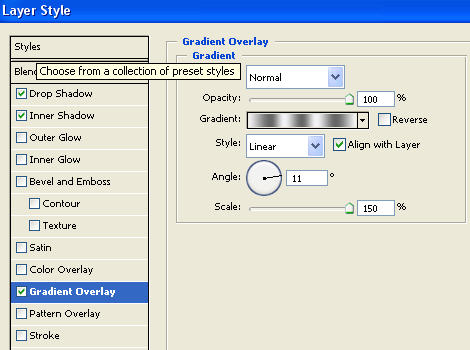
In layer palette double click
the layer to open layer style window. Apply settings as shown. |
|
 |
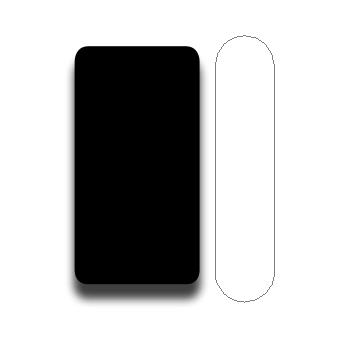
Create a rounded rectangle (Radius 25 pixels) and fill solid white color, using rounded rectangle shape tool. |
 |
In layer palette double click
the layer to open layer style window. Apply settings as shown. |
|
|
|
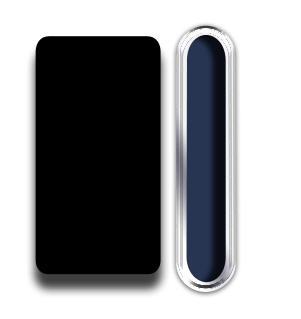
Create another rounded rectangle
using rounded rectangle shape tool. |
 |
In layer palette double click
the layer to open layer style window. Apply settings as shown. |
 |
|
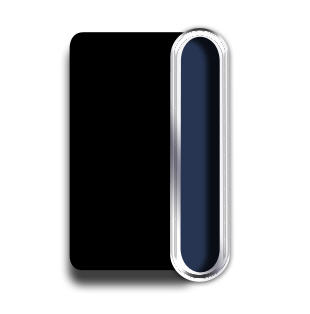
Adjust as shown. |
|
Press Ctrl+J to duplicate
the layer. Move this layer below all the layers in layer order in layer
palette. Adjust the layer as shown below. |
 |
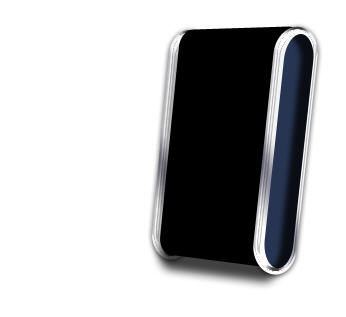
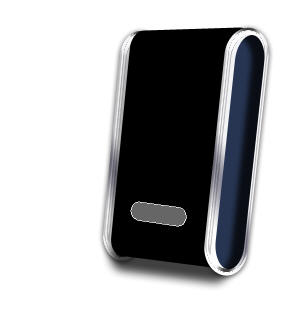
Select all the layers in
layer palette. Press Ctrl+T, rotate the shapes and place as shown below. |
|
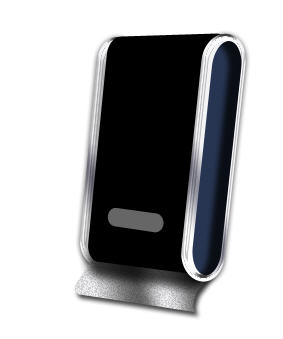
Create a rounded rectangle
using rounded rectangle shape tool. Press Ctrl+T and rotate the shape
as shown. |
 |
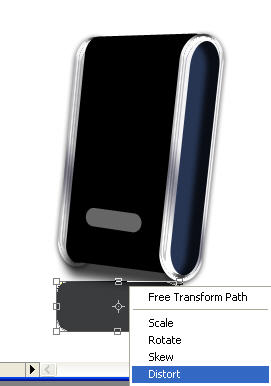
Create another rounded rectangle using rounded rectangle shape tool for the base. |
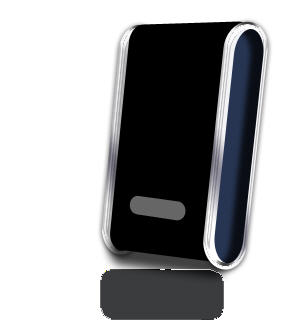 |
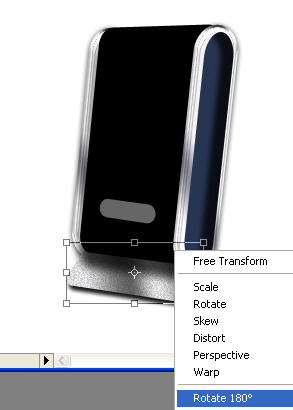
Press Ctrl+T. Right Click
and select distort. |
 |
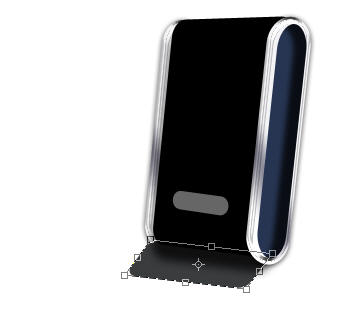
Adjust the handles as shown. |
 |
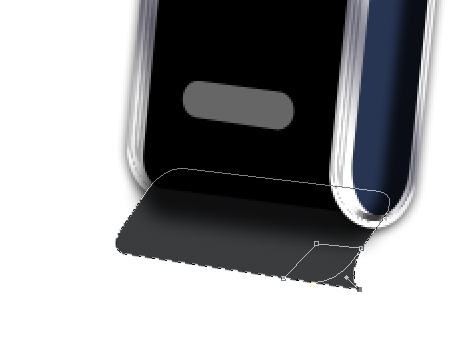
Enable "Add to shape area"
at the top bar. |
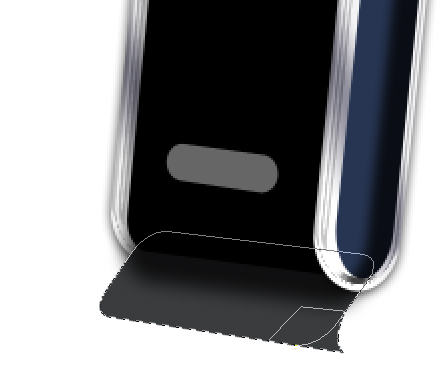
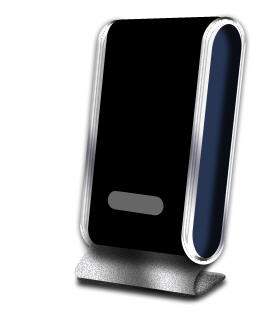
Using pen tool create a shape
as shown below. |
 |
 |
 |
In layer palette double click
the layer to open layer style window. Apply settings as shown. |
 |
 |
 |
 |
Press Ctrl+J to duplicate
the layer. Press Ctrl+T. Right Click and select Rotate 180°. ( from
here till next two steps are covered in the flash clip ) |
 |
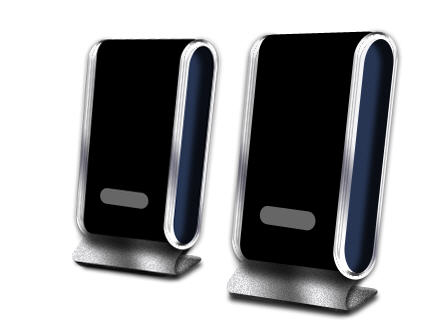
Press Ctrl+T and squeeze
it down verticaly. Move this layer below the previous layer in layer order
in layer palette. |
 |
Have a look at the flash
clip below. Also notice a few instructions below the flash clip. |
 |