Photoshop Tutorials
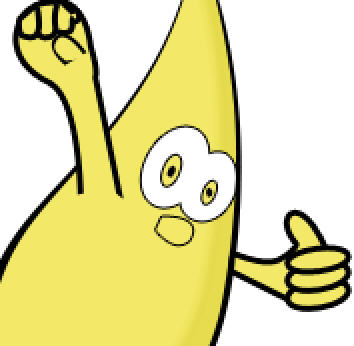
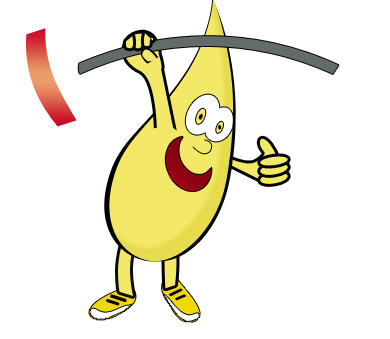
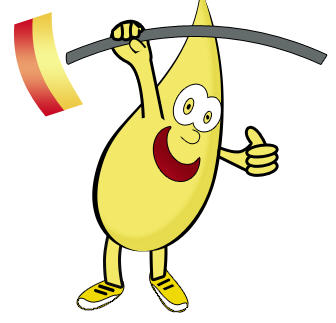
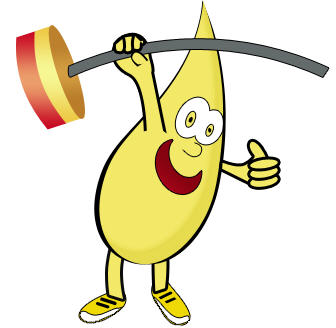
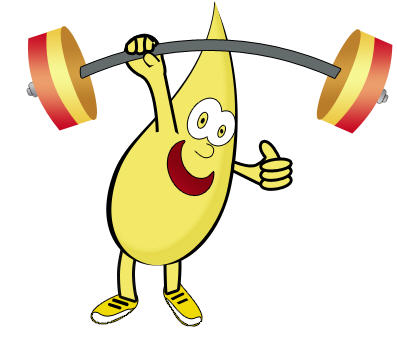
Drawing a Mascot for a Healthy Cooking Oil Company
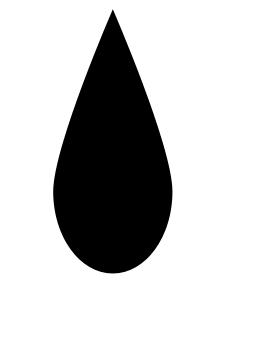
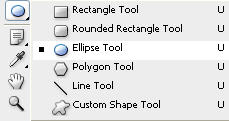
Select custom shape tool (U). Select raindrop shape from the preset fly out menu from the options bar at the top. |
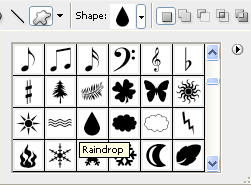 |
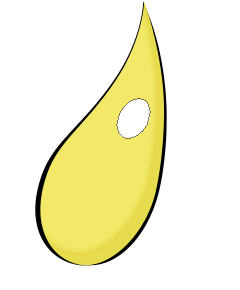
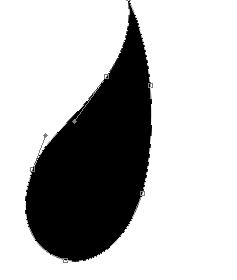
Drag the tool to create a drop shape. |
|
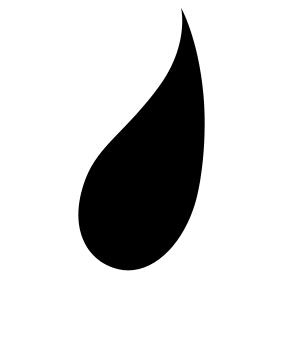
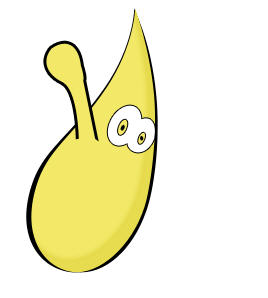
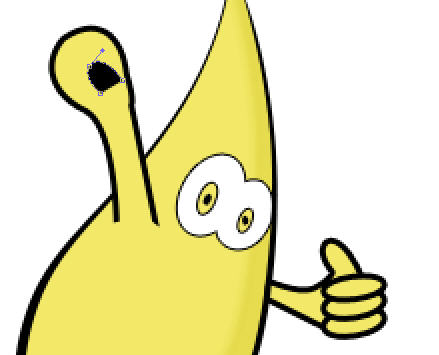
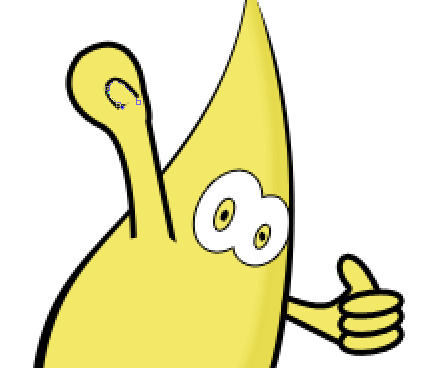
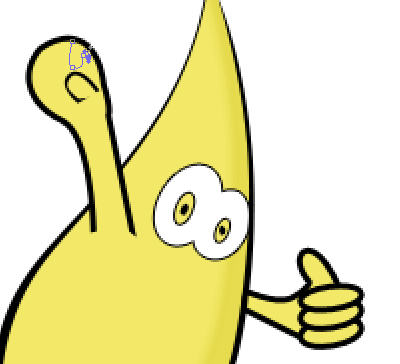
Select Direct selection tool and change shape as shown below. |
 |
| Have a look at the flash clip below to see how we did this. |
|
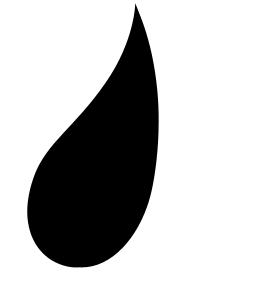
Press Ctrl+J to duplicate the layer. |
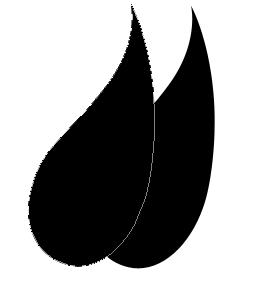 |
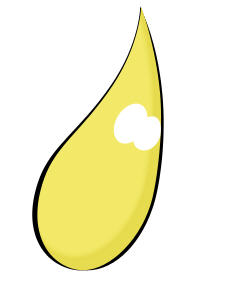
Place it on top of the previous drop. Offset it by a few pixels. |
|
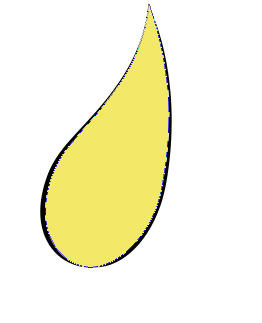
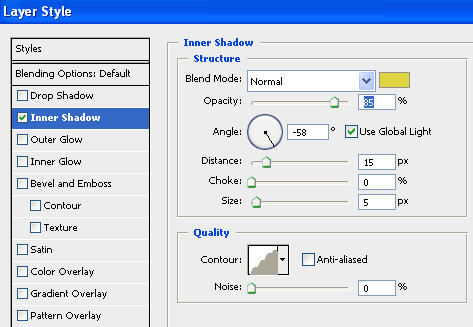
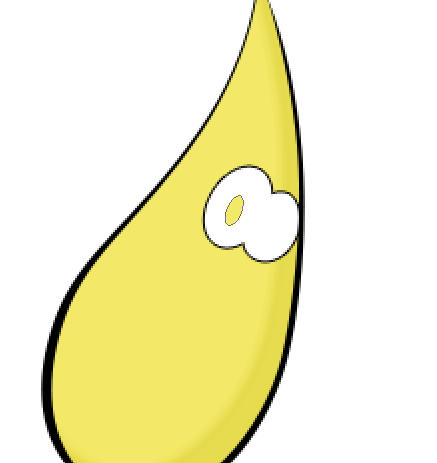
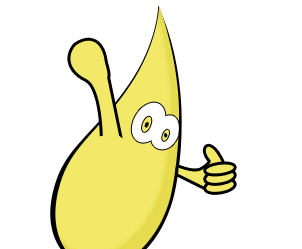
Fill it with yellow color. |
|
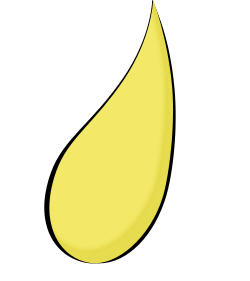
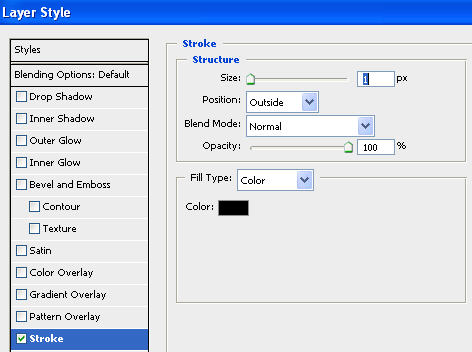
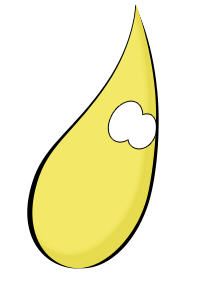
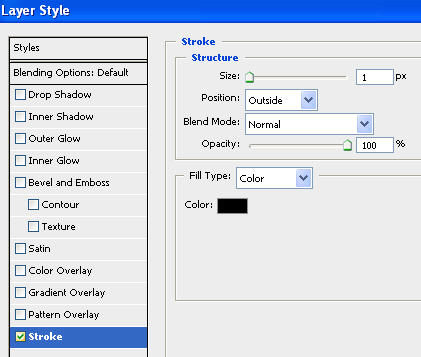
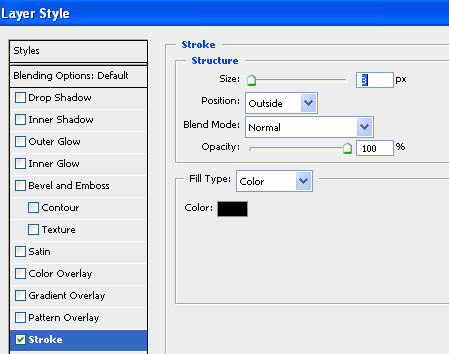
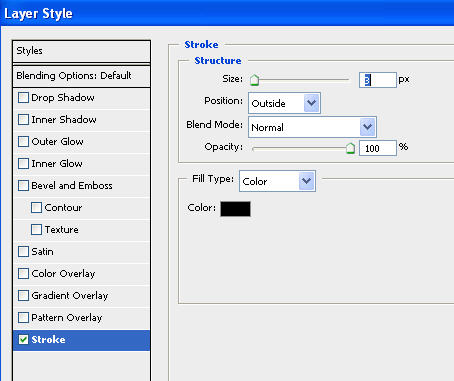
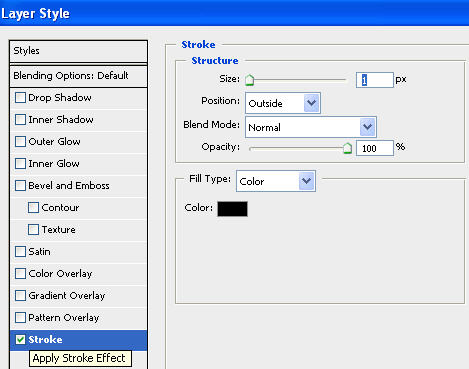
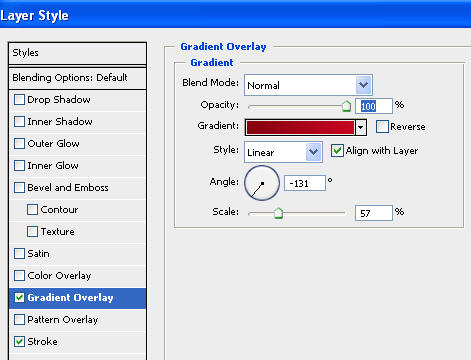
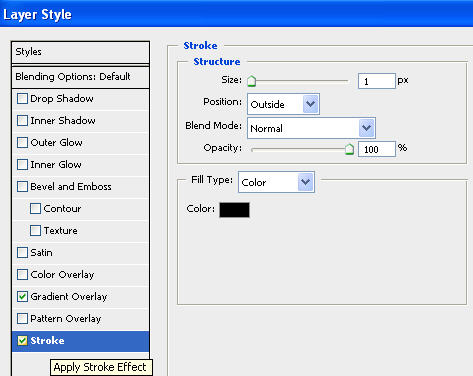
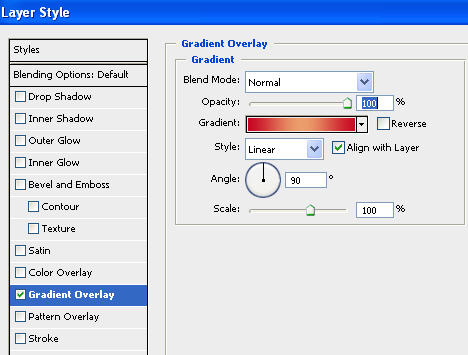
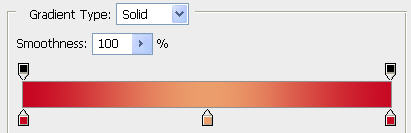
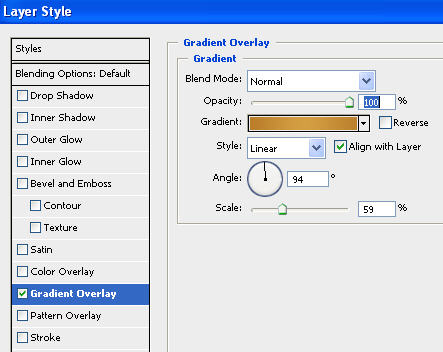
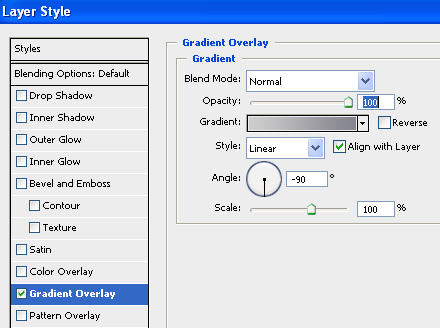
Double click the layer to open layer style window. Apply settings as shown. |
 |
 |
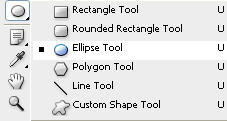
Select Ellipse tool. |
 |
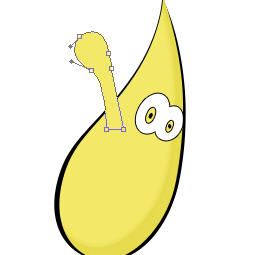
Create an ellipse using elliptical shape tool. This will serve as an eye for oil drop mascot. |
|
| Again select Ellipse tool. Enable "Add to shape area" at the top bar. |
|
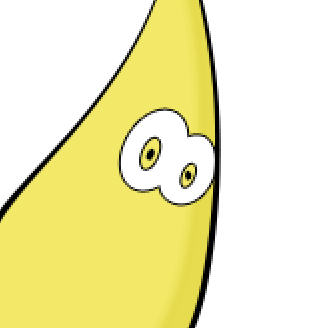
Draw another ellipse overlapping the previous one. |
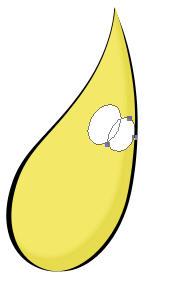 |
|
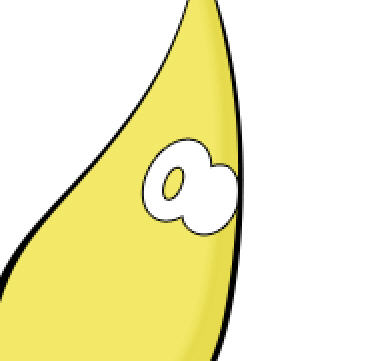
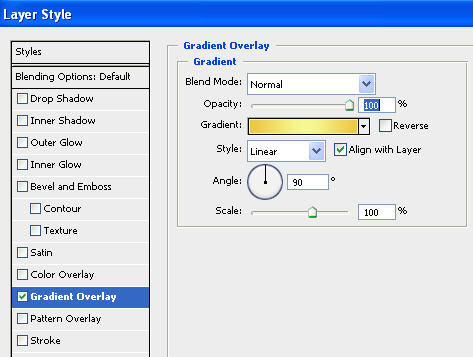
Double click the layer to open layer style window. Apply settings as shown. |
 |
 |
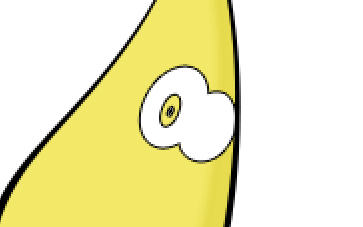
Create an ellipse using elliptical shape tool for the eye ball. |
 |
Double click the layer to open layer style window. Apply settings as shown. |
 |
 |
Create an ellipse using elliptical shape tool fill it with black color. |
 |
Now select all object of eyes in layer palette. Press Ctrl+G to group layer. Go to Layer >> Duplicate group.. Press Ctrl+T to transform and place it as shown below. |
 |
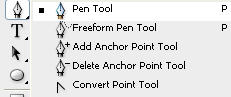
Select Pen tool. |
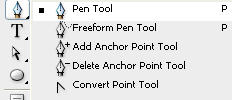 |
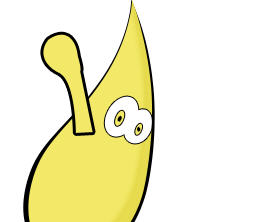
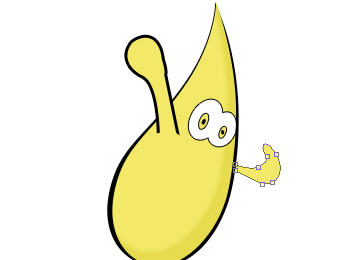
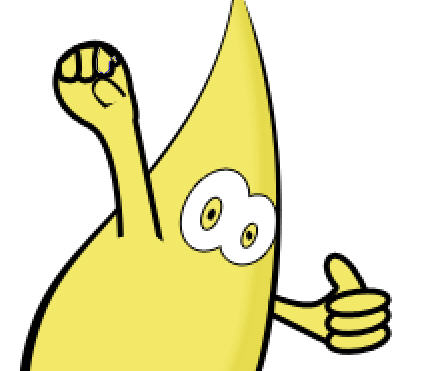
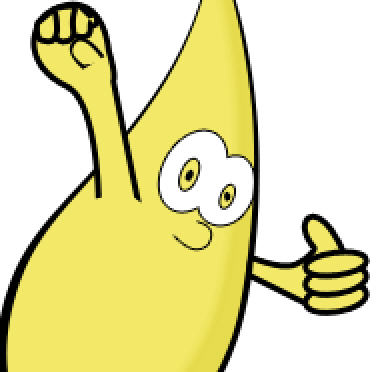
Draw it's hand as shown below. |
|
| Have a look at the flash clip below to see how we did this. |
Double click the layer to open layer style window. Apply settings as shown. |
 |
 |
From layer menu select layer style>>create layers. Select and merge both the resulting layers. Using eraser tool erase the bottom edge of the arm. |
 |
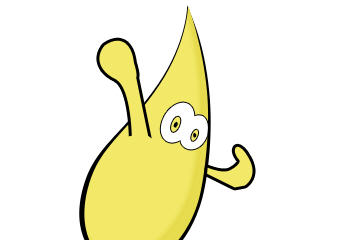
Select the pen tool and draw another hand as shown below. |
 |
Double click the layer to open layer style window. Use the same layer style that we use for the other arm. |
 |
Select elliptical shape tool. |
 |
Create an ellipse for the finger. Apply same layer style. |
 |
Press Ctrl+J to duplicates the layer. Place the ellipses as shown. |
 |
Select pen tool, draw shape as shown to make thumb. Fill it with black color. |
 |
Press Ctrl+J to duplicate the layer. Press Ctrl+T and scale it down. Fill with yellow color. |
 |
Again select pen tool and draw it's finger as shown below. |
 |
| Double click the layer to open layer style window. Apply settings as shown. |
 |
 |
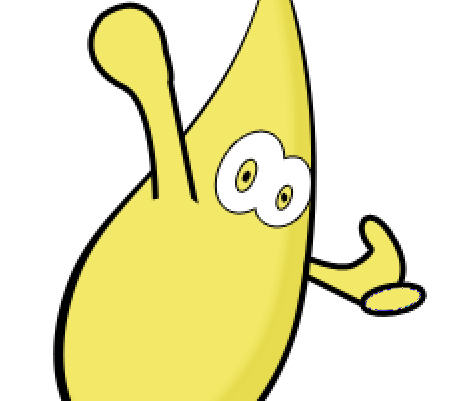
Now you can draw two more fingers using pen tool. |
 |
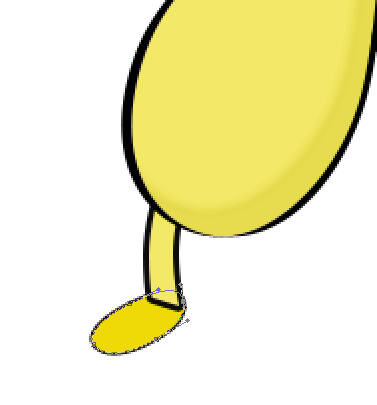
Using Pen tool create it's leg as shown below. Move this layer below all the layers in layer order in layer palette. |
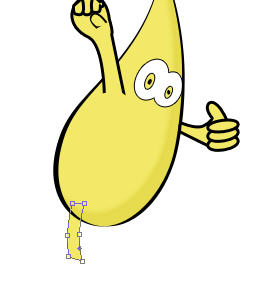 |
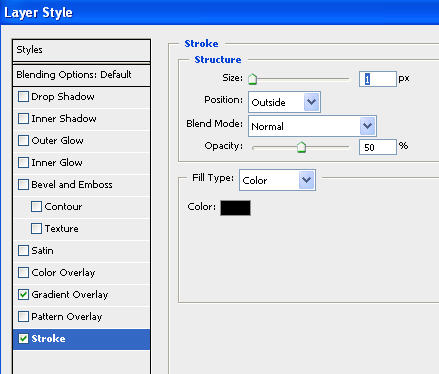
Double click the layer to open layer style window. Apply stroke using previous settings. |
 |
Create an ellipse using elliptical shape tool. Press Ctrl+T, rotate and place as shown below. |
 |
Select pen tool. Enable "subtract from shape area" at the top bar. |
 |
 |
Create a shape as shown below on the foot. |
 |
Create a rectangle using rectangular shape tool. Press Ctrl+T, rotate and place as shown below. |
 |
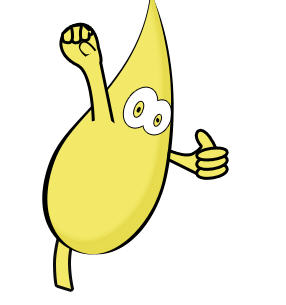
Repeat the steps to create the other leg and foot. |
 |
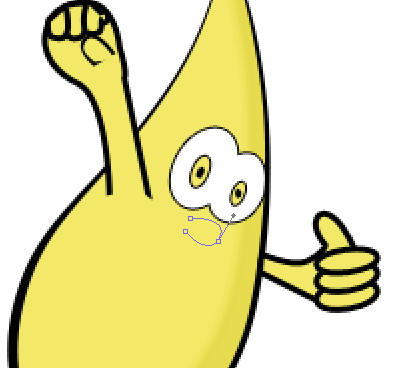
Using pen tool create a shape for the nose as shown below. |
 |
Double click the layer to open layer style window. Apply settings as shown. |
 |
 |
From layer menu select layer style>>create layers. Select and merge both the resulting layers. Using eraser tool erase the left area of nose. |
 |
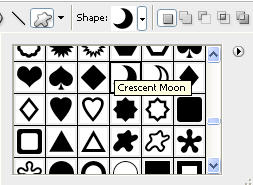
Using custom shape tool (U), create a crescent moon shape. Place it for the lips. |
 |
Double click the layer to open layer style window. Apply settings as shown. |
 |
 |
 |
Create a rectangle using rectangular shape tool. Press Ctrl+T, right click and select warp. |
 |
From the preset warp shapes on the top bar select Arc. |
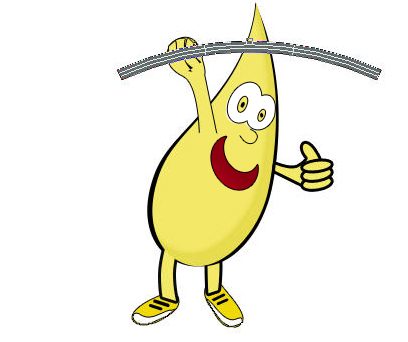 |
Move this layer below the finger layers in layer order in layer palette. Create a rectangle using rectangular shape tool. Press Ctrl+T, right click and select warp. Adjust the handles as shown below. |
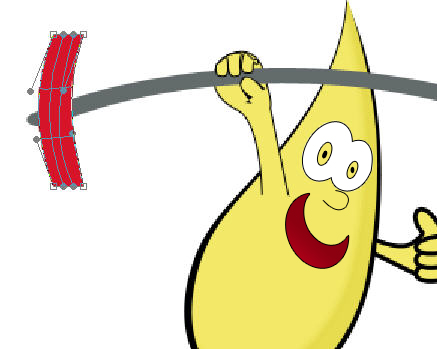 |
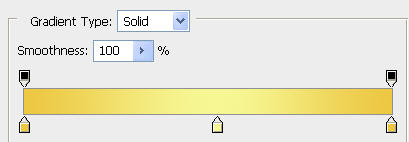
Double click the layer to open layer style window. Apply settings as shown. |
 |
 |
Place it as shown below. |
 |
Press Ctrl+J to duplicate the layer. Double click the layer to open layer style window. Apply settings as shown. |
 |
 |
Place it as shown below. |
 |
Create an ellipse using elliptical shape tool. |
 |
Double click the layer to open layer style window. Apply settings as shown. |
 |
 |
Create an ellipse using elliptical shape tool. |
 |
Double click the layer to open layer style window. Apply settings as shown. |
 |
 |
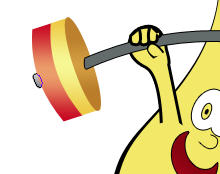
Press Ctrl+J to duplicate the layer. Scale it down. |
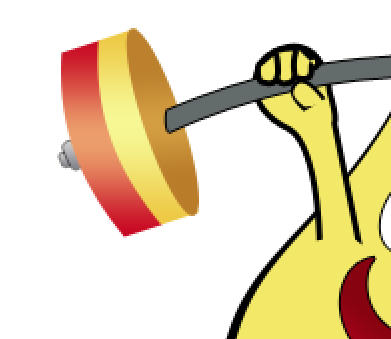 |
Use the same steps to add weight on the other side of weight lifting bar. |
 |